

Eureka Crate (from parent company KiwiCo) is a subscription box for kids and adults ages 14-104. It arrives every month with all the materials and instructions needed to create a functional, lasting object with a focus on engineering. The goal of these projects is to use science and math to solve real-world problems while inspiring them to become creative innovators.
KiwiCo offers boxes for different age groups: Tadpol Crate for 0-36-month-olds, Koala Crate for 3-4-year-olds, Kiwi Crate for 5-8-year-olds, Doodle Crate and Tinker Crate for 9-16+-year-olds, and Eureka Crate for ages 14 and up. There really is something for every age with this company.
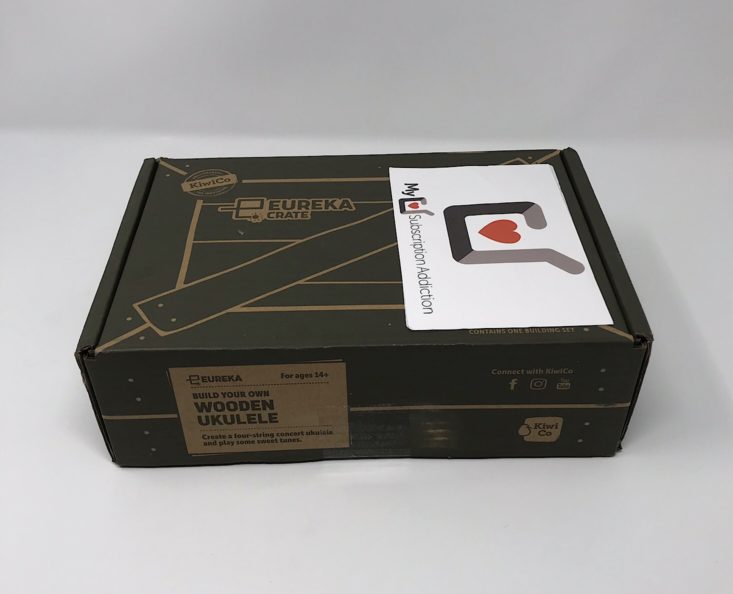
This review is of the $29.95 a month Eureka Crate Wooden Ukulele box, for 14-year-olds and up.
This box was sent to us at no cost for review. (Check out the review process post to learn more about how we review boxes).
About Eureka Crate
The Subscription Box: Eureka Crate
The Cost: $29.95 per month + free shipping
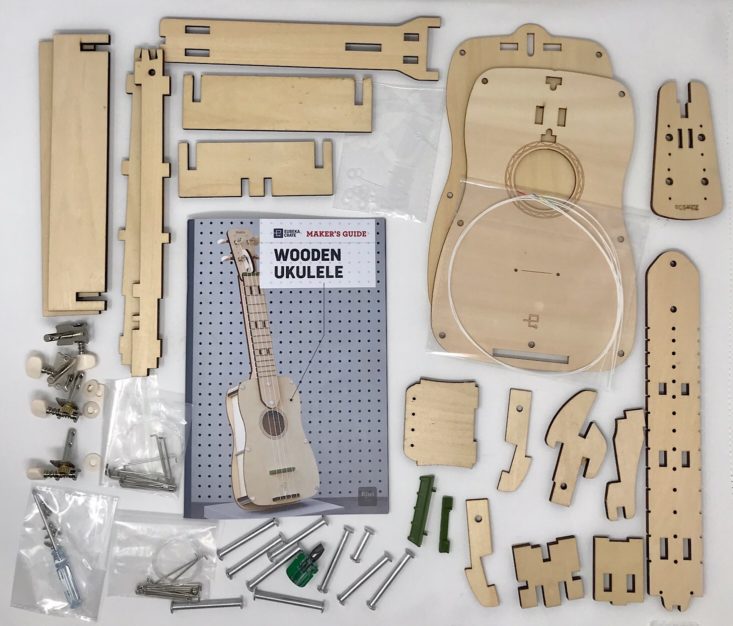
The Products: Detailed instructions and all of the high-quality materials needed to create a unique, lasting and functional engineering project as well as a Maker's Guide that explains the science and technology behind it.
Ships to: U.S. for free, Canada for $6.95 per month
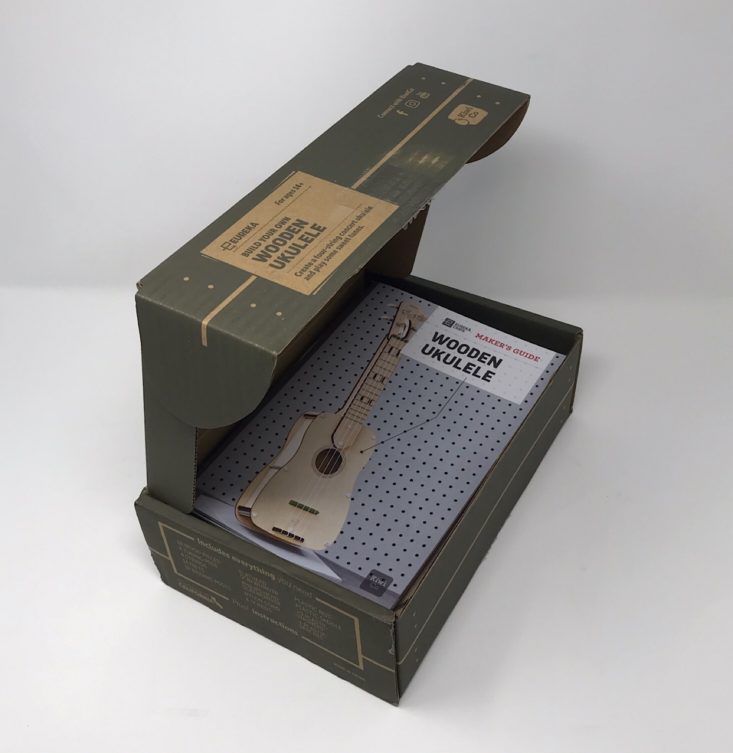
KiwiCo Eureka Crate "Wooden Ukulele" Review
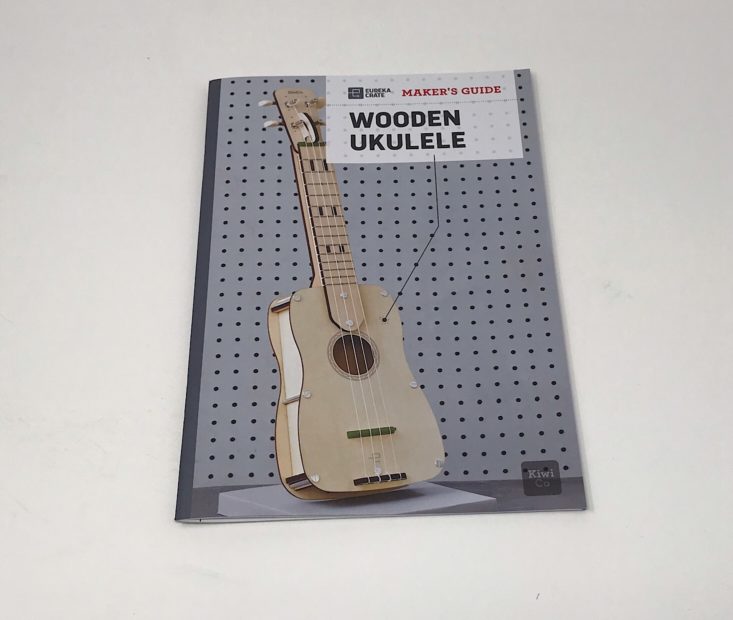

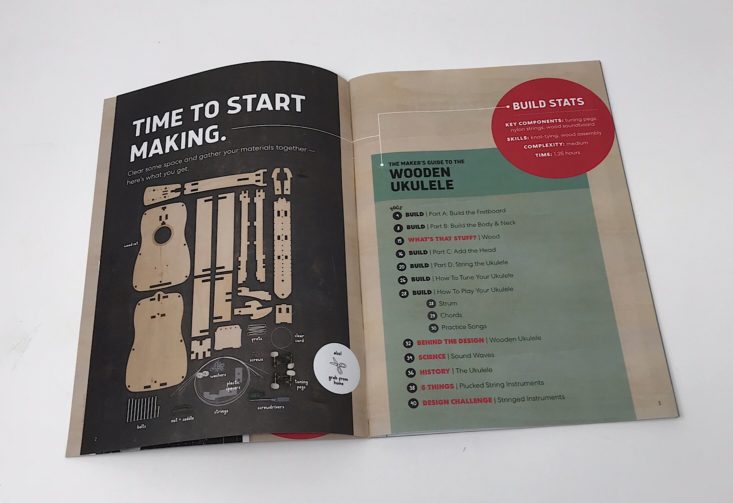
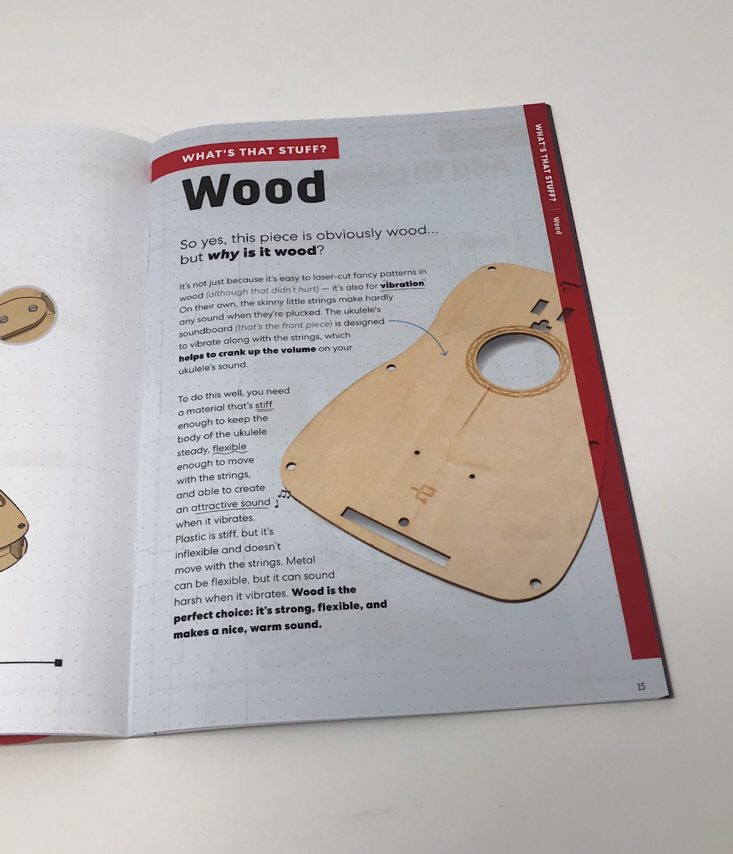
The project for this month is to make a Wooden Ukulele. This was the included Maker's Guide that provided detailed, step-by-step instructions as well as information about the science behind it including a section on soundwaves and stringed instruments. The booklet was fairly thick and in color with a lot of helpful information and images. There was also a great little bubble at the top that provided information on the key components, skills, complexity and time to complete, which was 1.25 hours, which is exactly how long it took me. For the Build pages, they were separated into various parts, which was great for breaking it down into smaller, more manageable tasks!
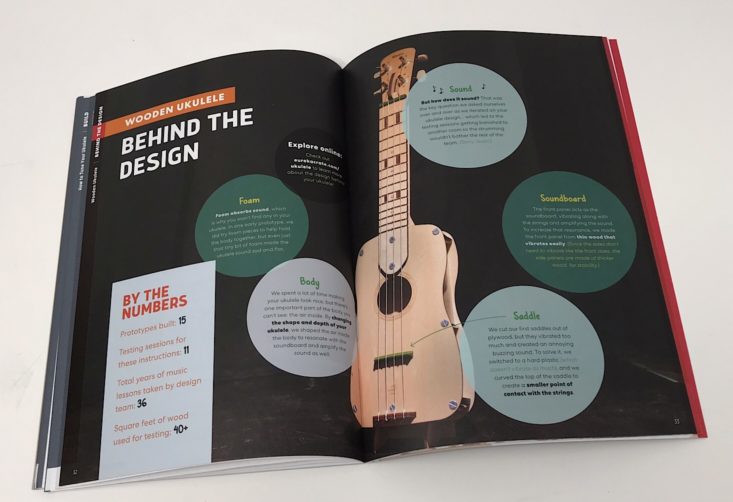
I love that the booklet went into so much detail about the design of the ukulele. Not only did they go into the history of it, but they also included some fun facts about how they designed our ukulele. They tell us a few things they tried and why they chose some of the pieces they included. I was impressed that they went through 15 prototypes before this one. This just gives you an idea of how much thought and effort goes into creating these projects!
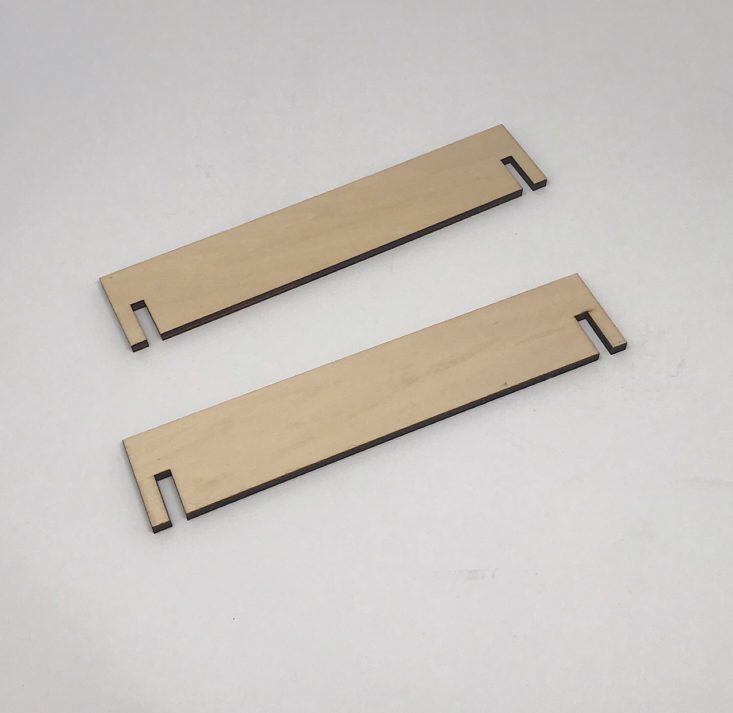
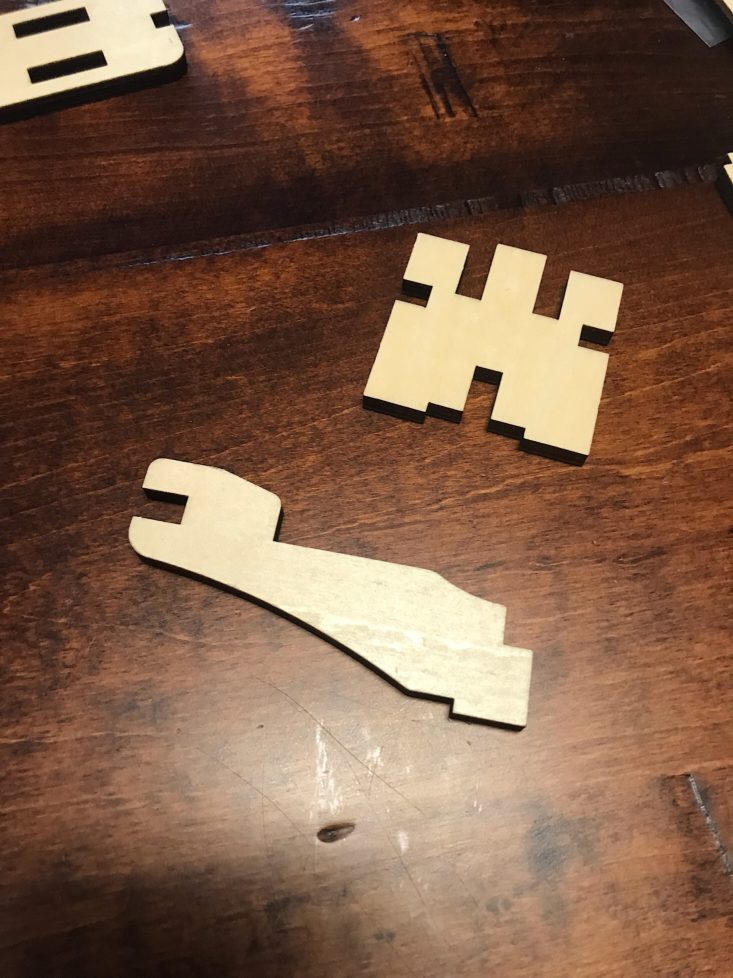
Part A: Build the Fretboard
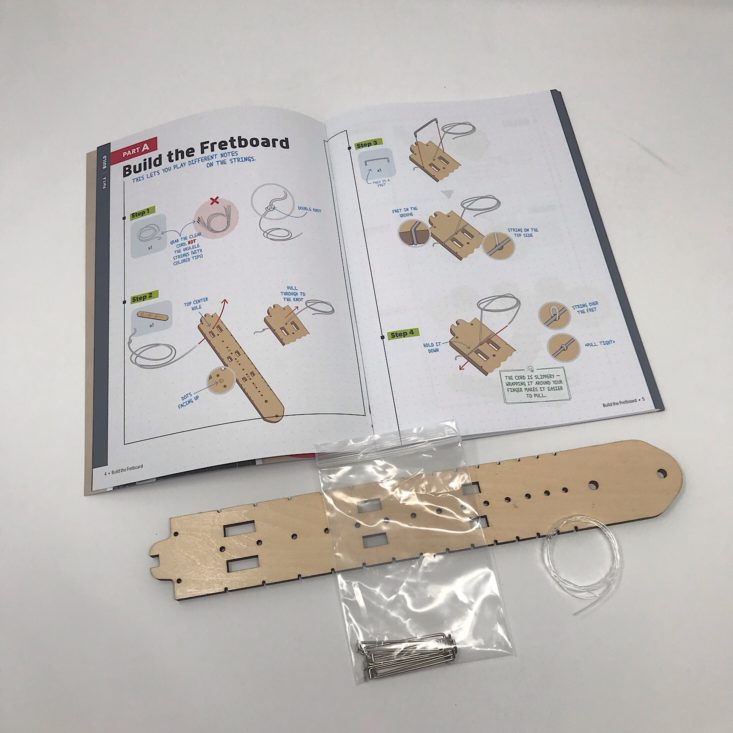

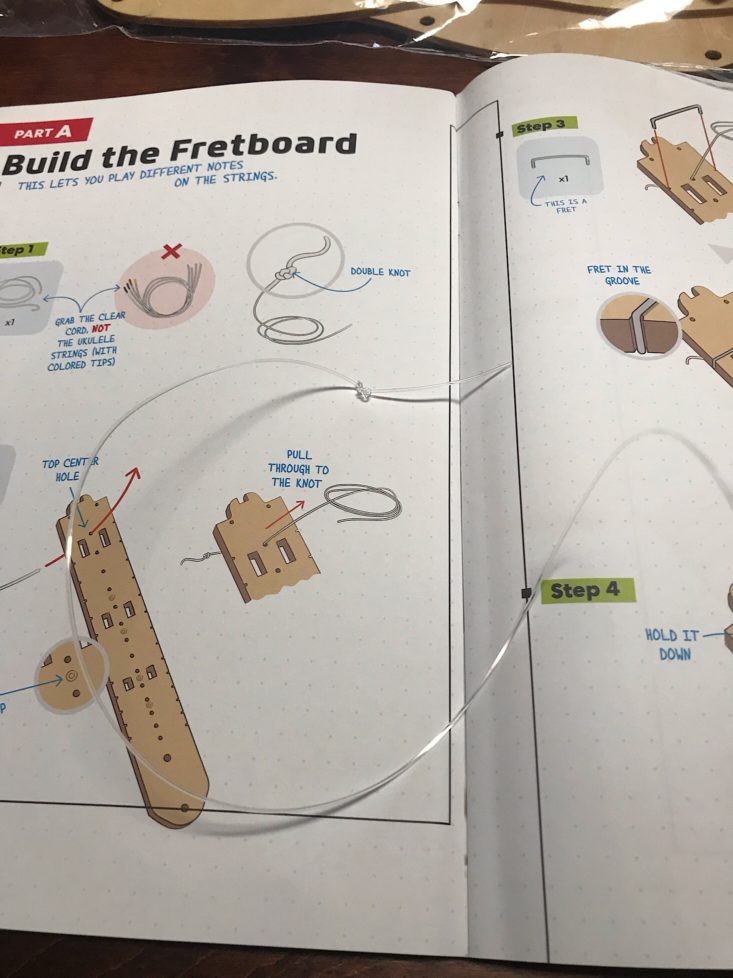
The first part was to build the fretboard for our ukulele. The pieces are all made of nice, sturdy wood and they include several holes and cutouts that are designed to make these projects so simple. First, I tied a knot into one end of the string and then threaded it through the hole which was easy to do thanks to the detailed diagrams with clear pictures.
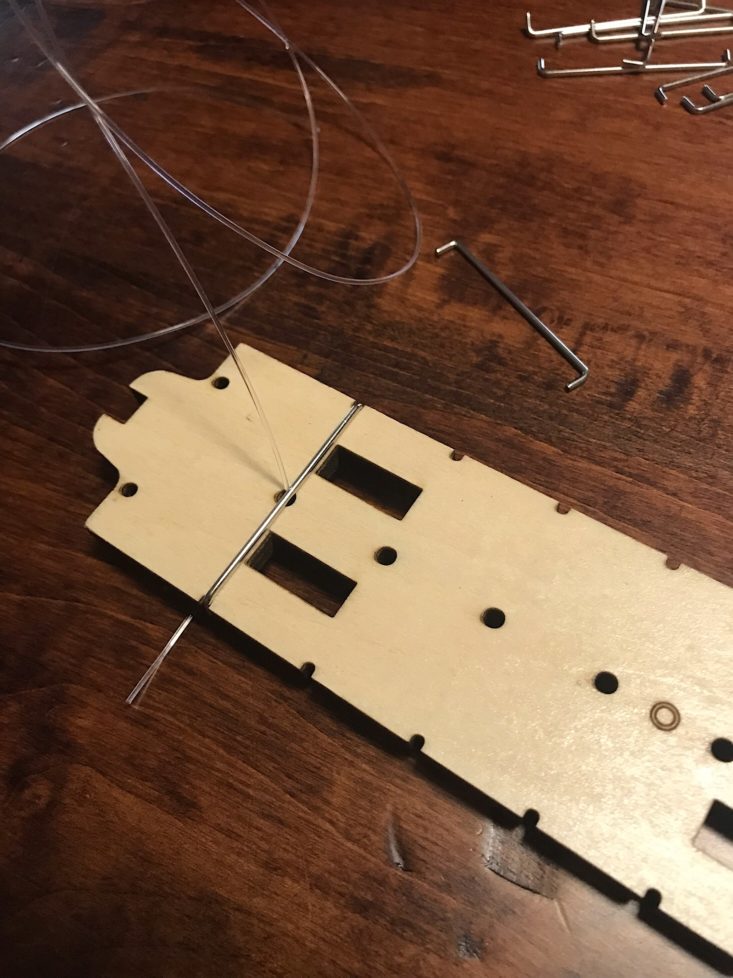
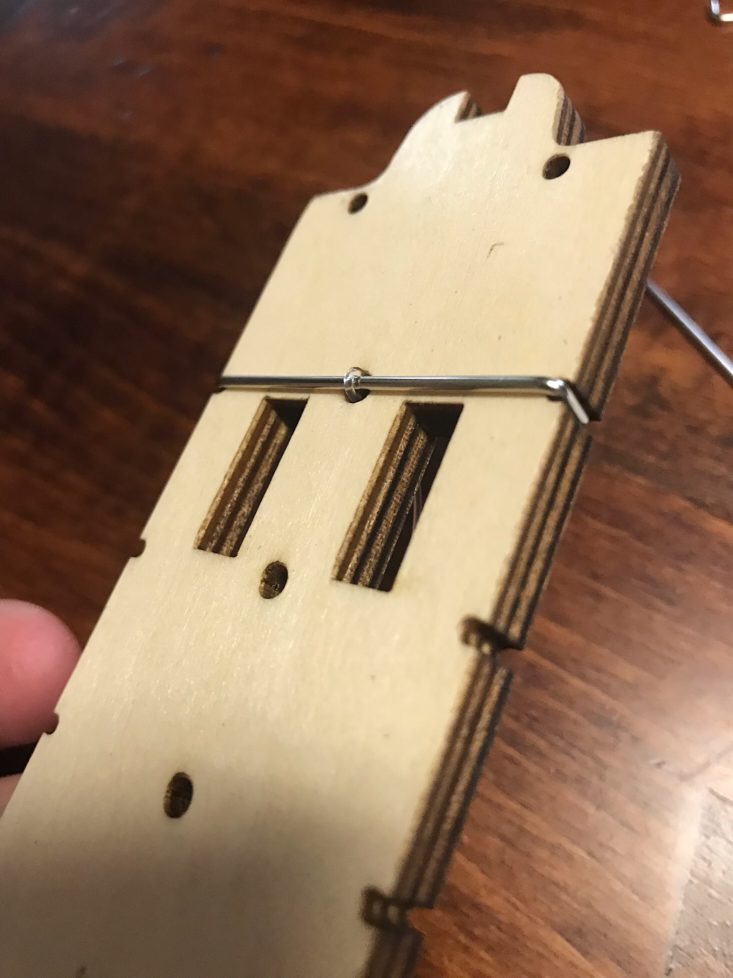
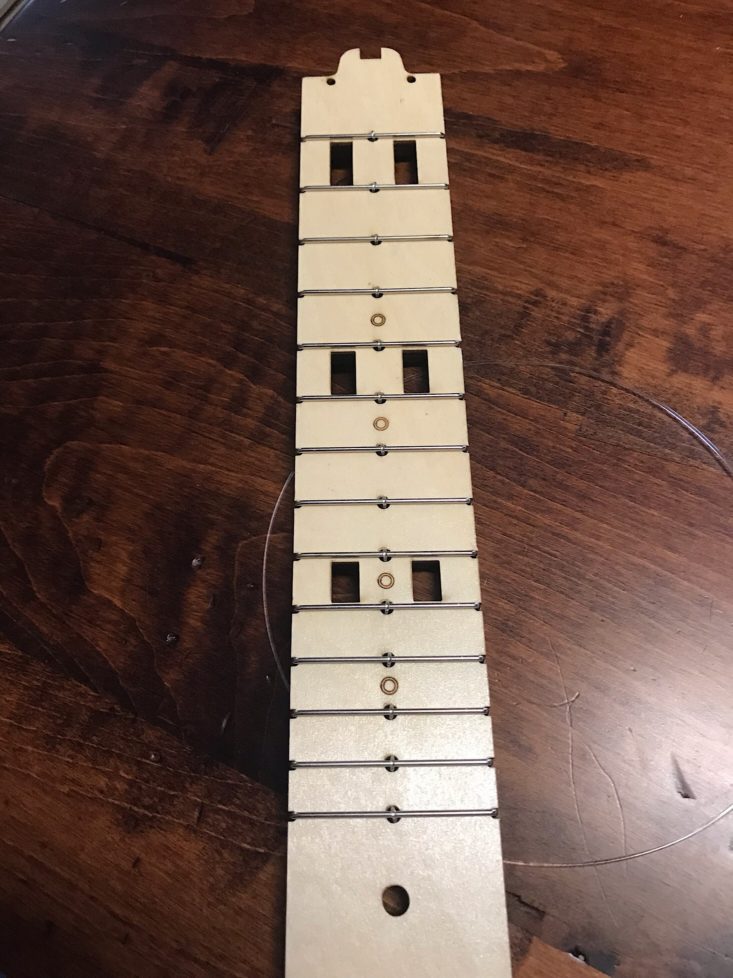
Then I added the metal fret piece which fit easily into the notches on the side and wrapped the string over it and tucked it back into the hole. I repeated this for all of the frets, which there were a lot of.
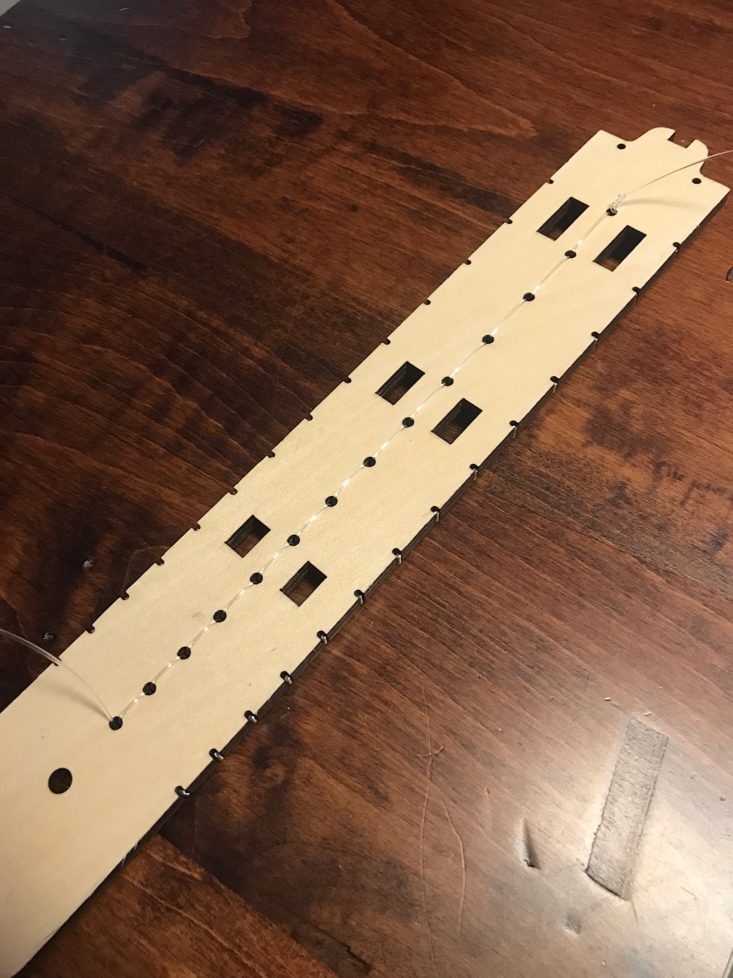
I double wrapped the bottom three frets and then wound the string around them in the back to secure it. The only thing we needed from home was a pair of scissors which I used to cut off the excess string and then our fretboard was finished. This was slightly time-consuming but very easy to follow thanks to the detailed directions and the pre-notched wood that acted as an easy guide.
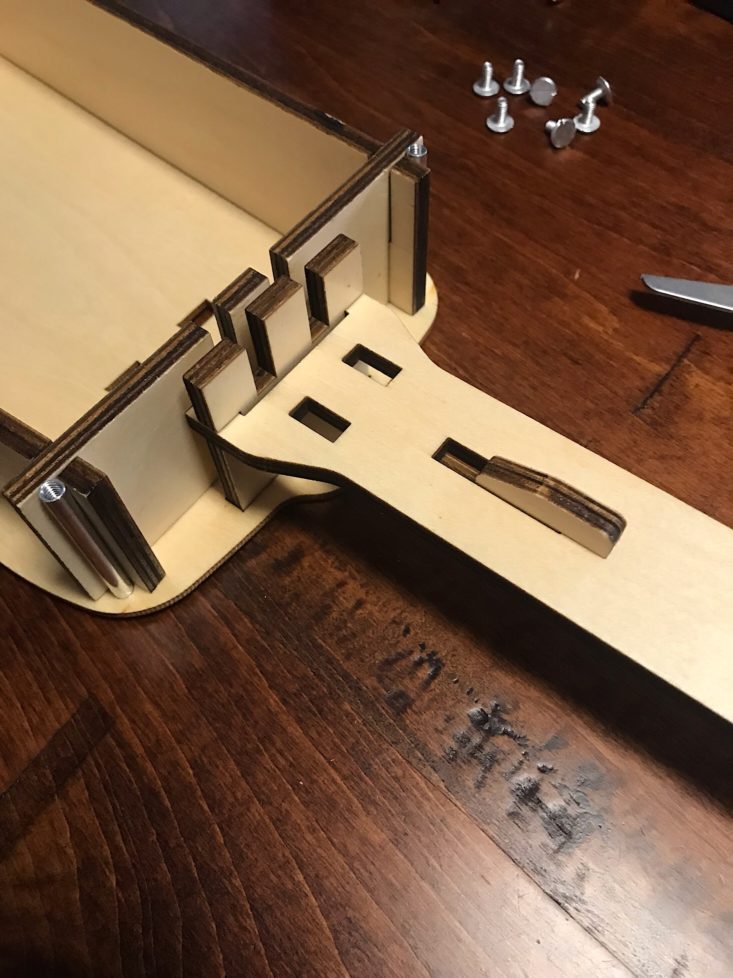
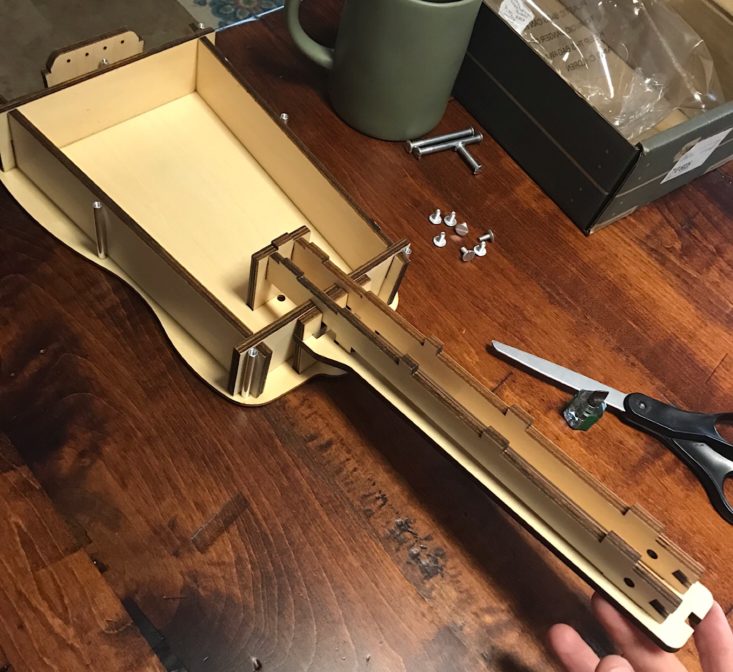
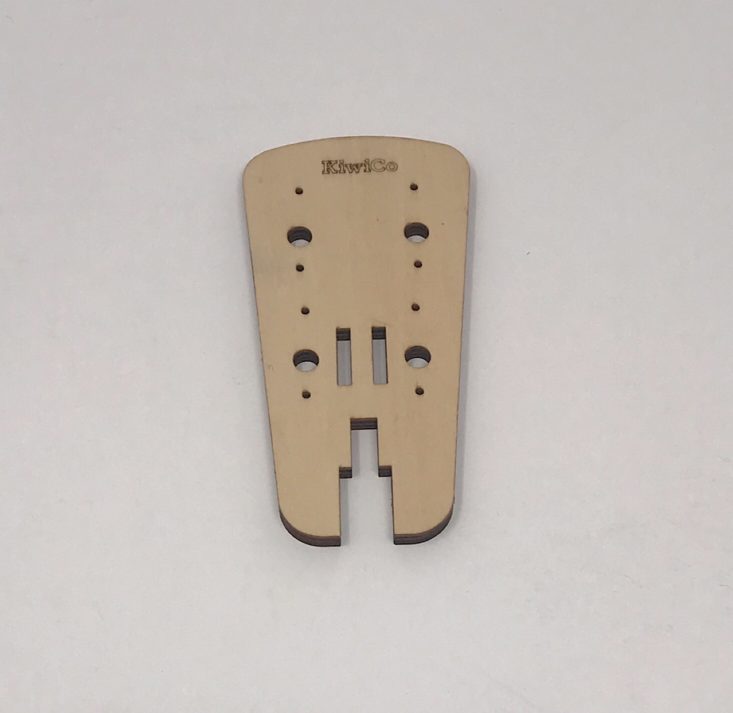
Part B: Build the Body & Neck

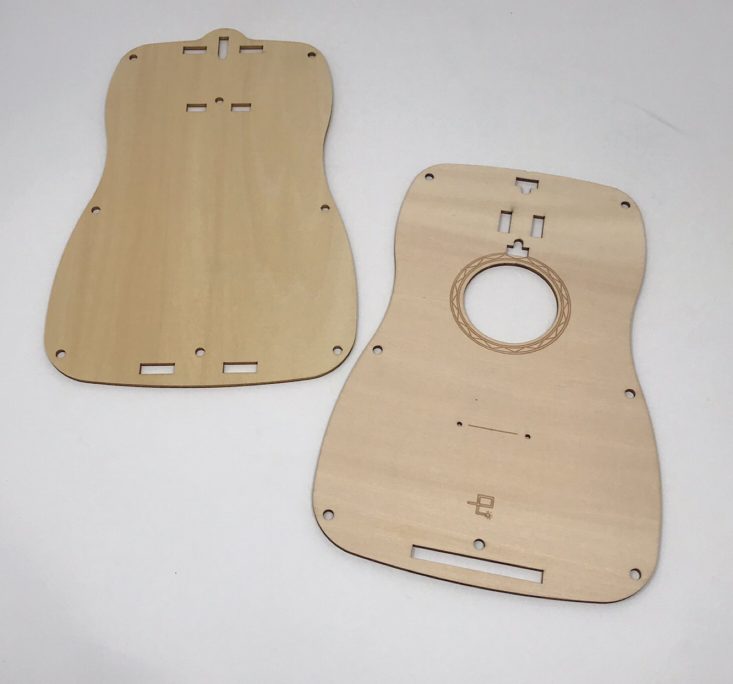
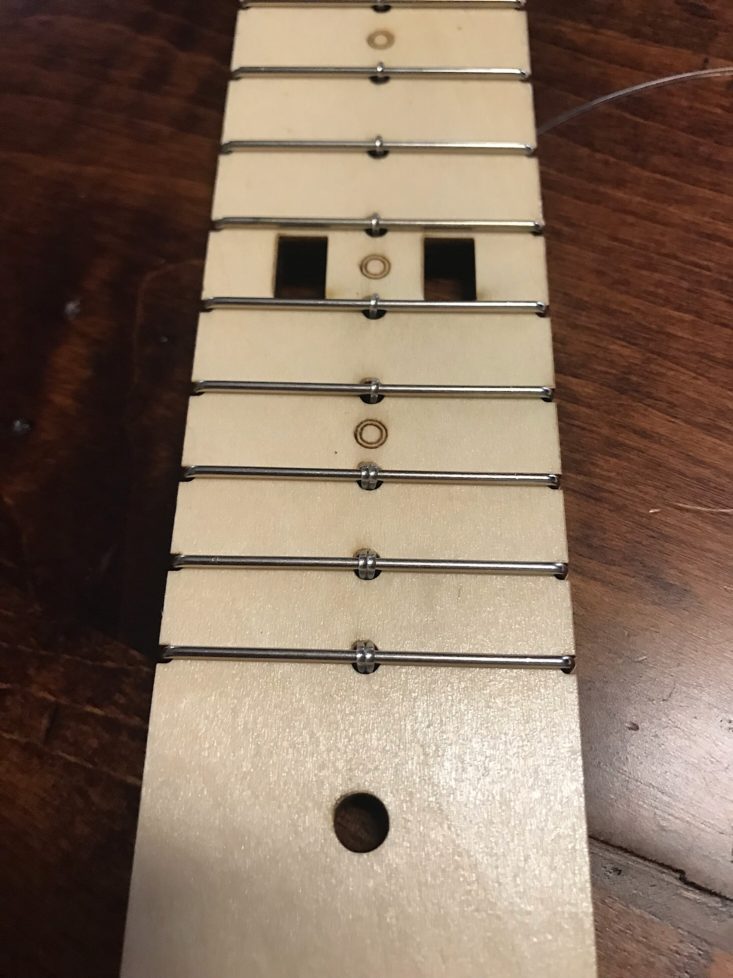
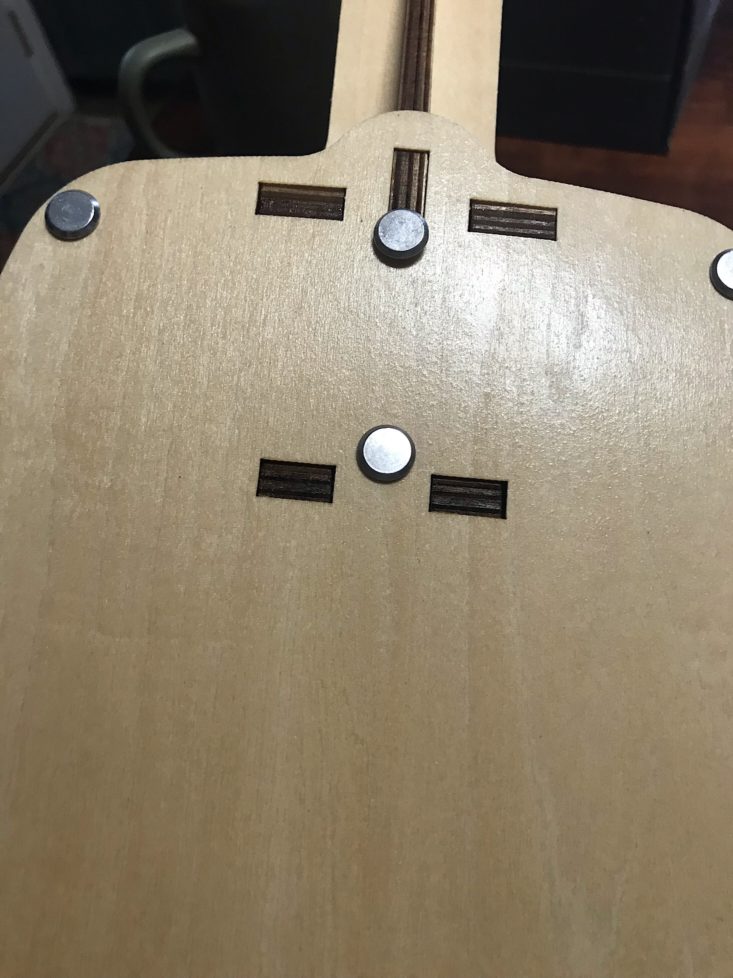
The next part was to build the body and neck. You can see how many cutouts there are which ensured that everything fit together easily.
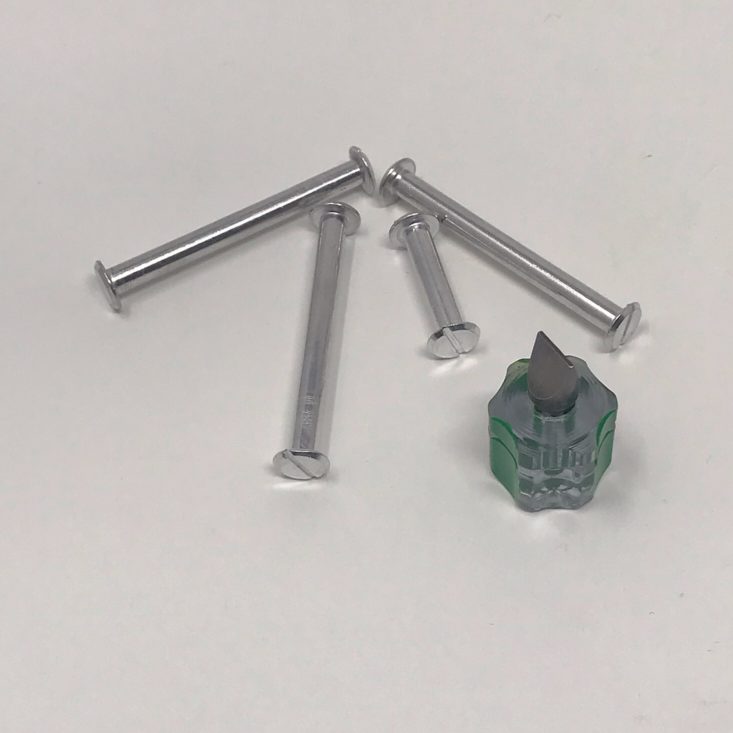
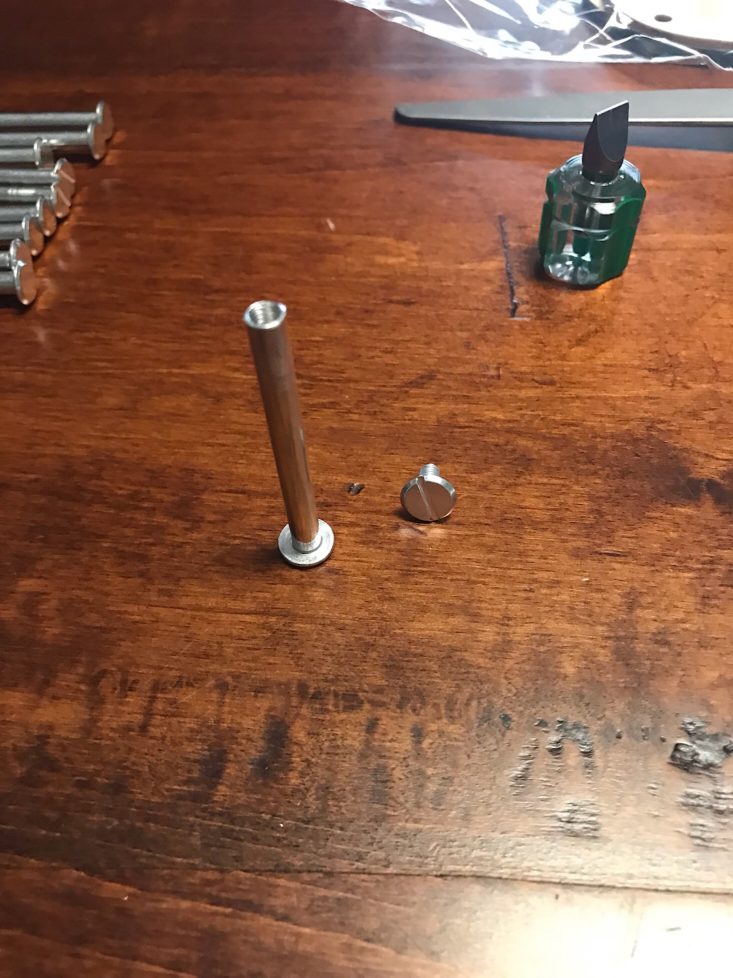
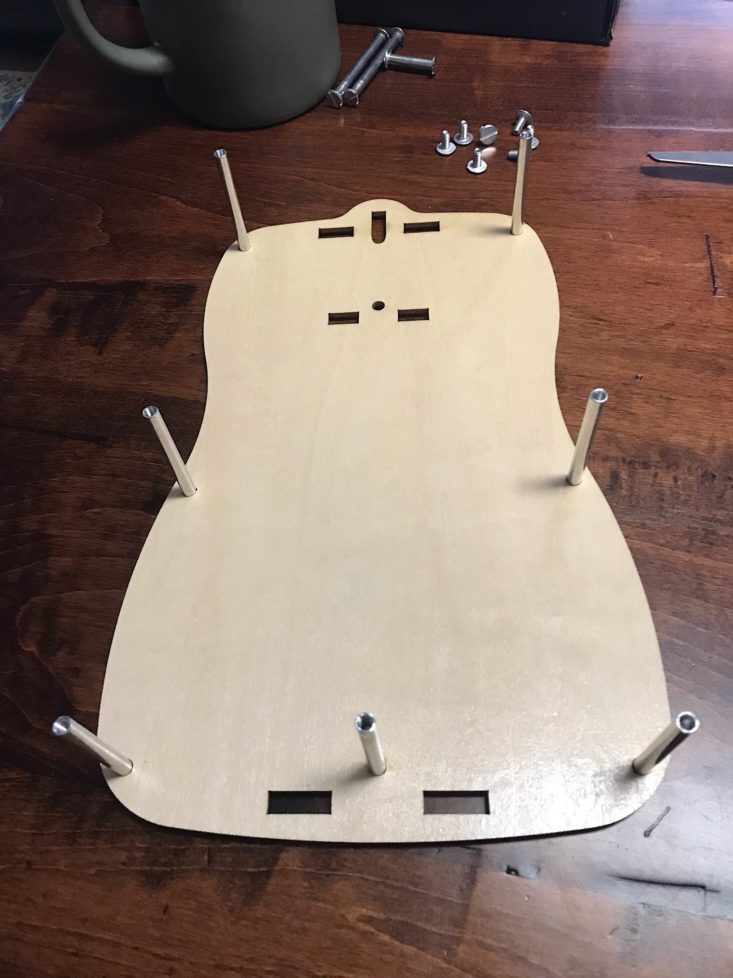
They provided several of these metal rods with screws on the ends and even a mini screwdriver to use with them. After removing the screws I slid the medium-sized rods through all seven of the holes on the back of the body.
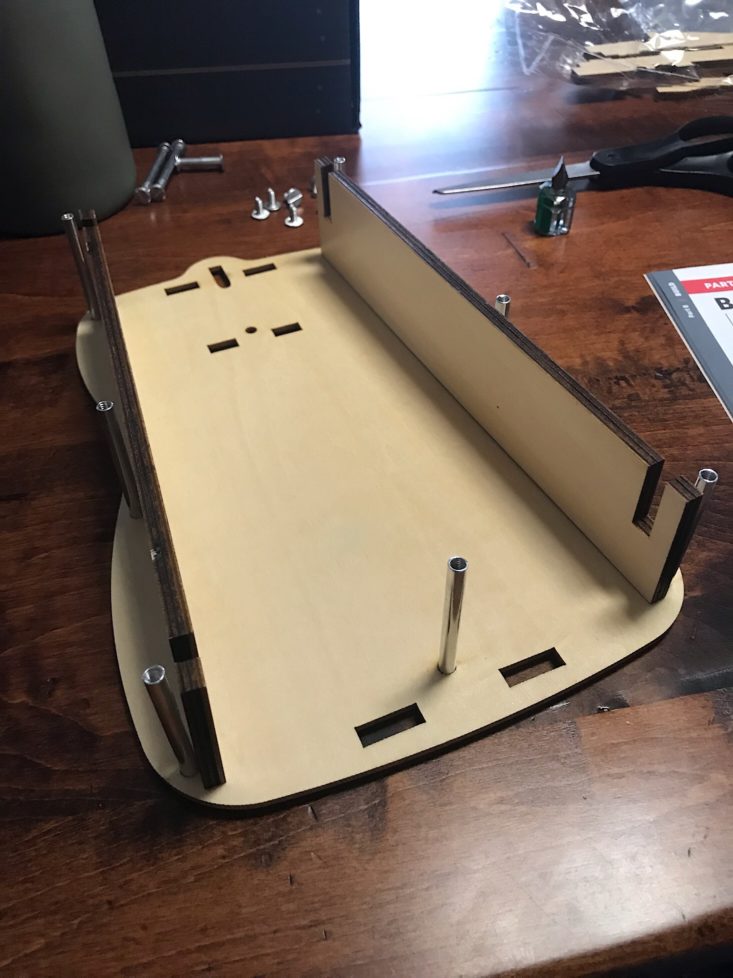
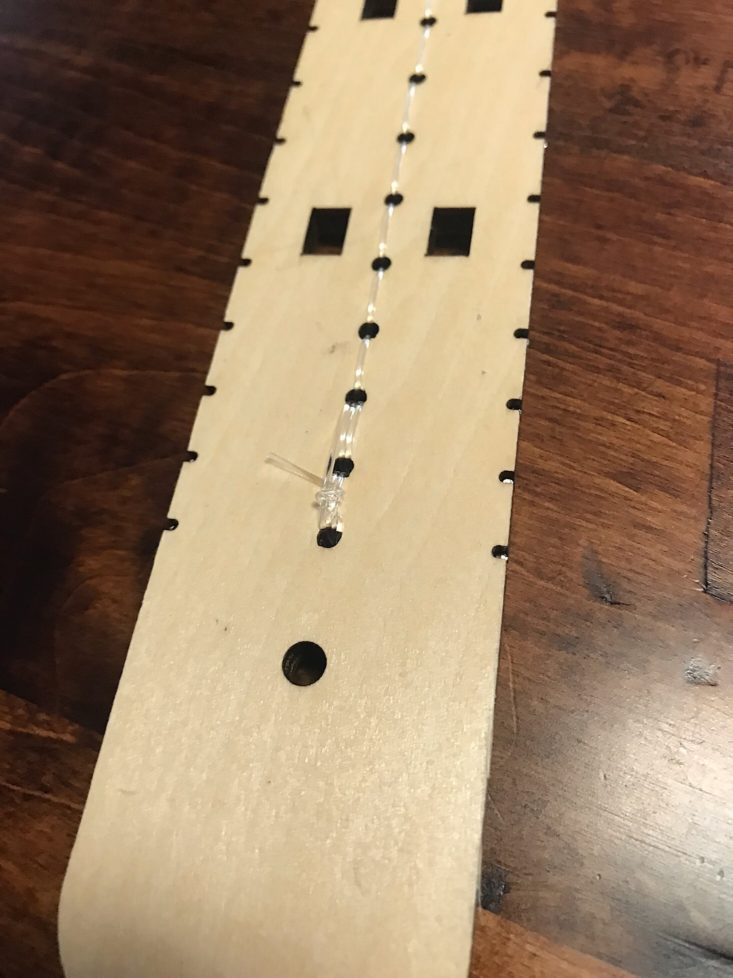
Next, I added these wooden pieces to the side.

Then I slid the smaller pieces of wood into place to hold the side pieces in.


Then, I slid these pieces into place to start building out our neck.
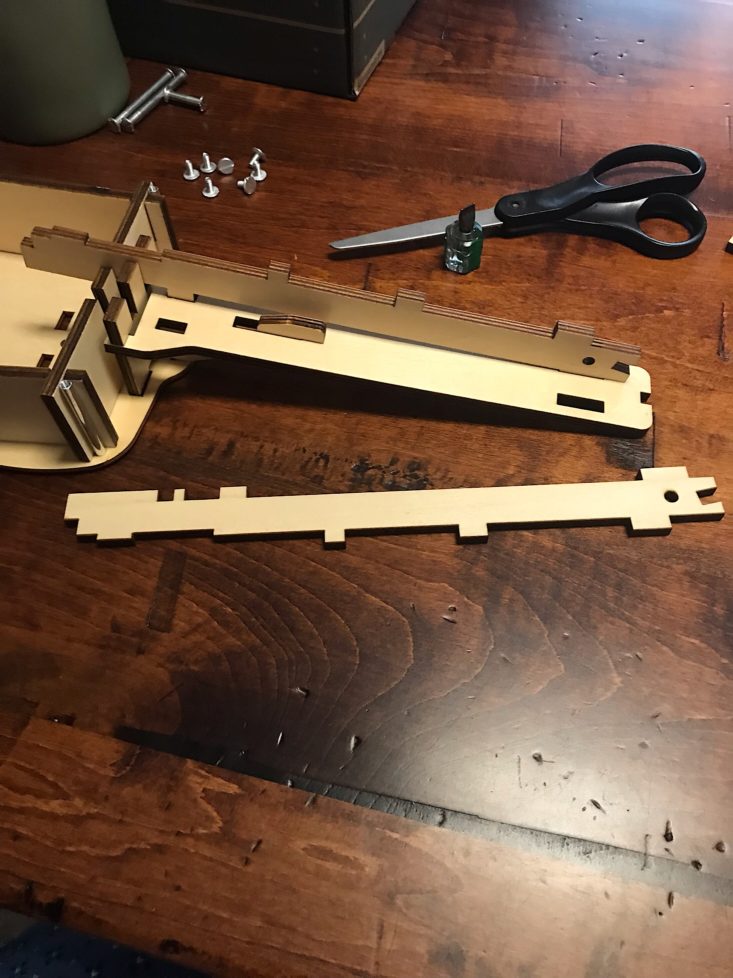
Then it was just a matter of matching up all of the notches and cutouts while consulting our directions for visuals.
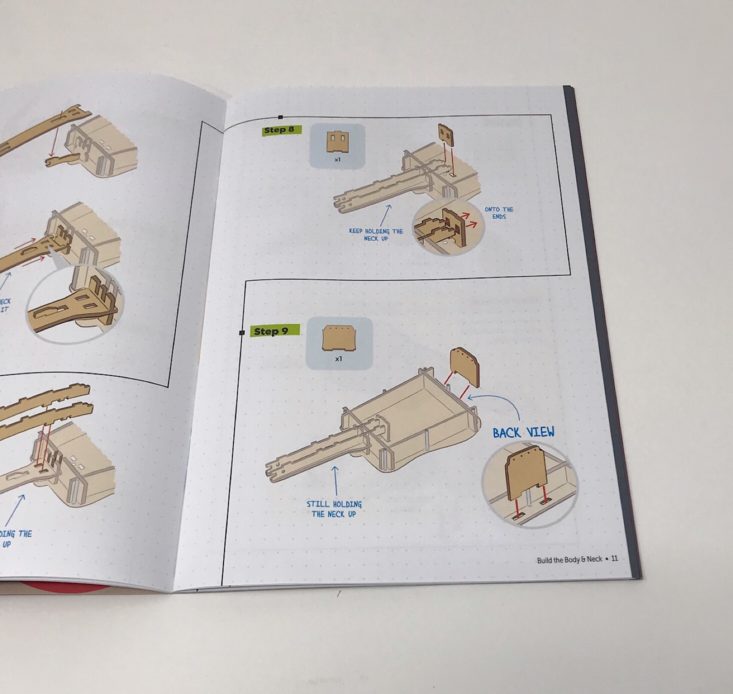
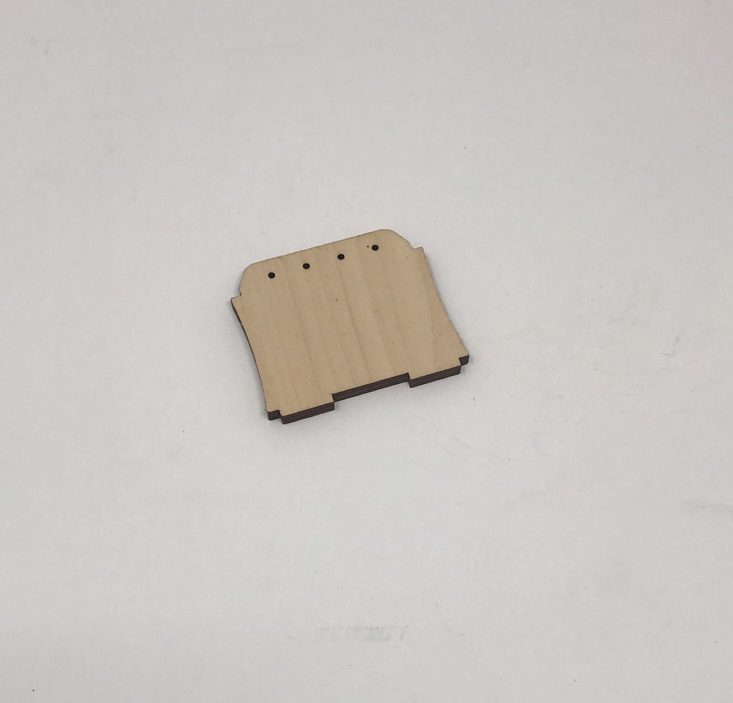
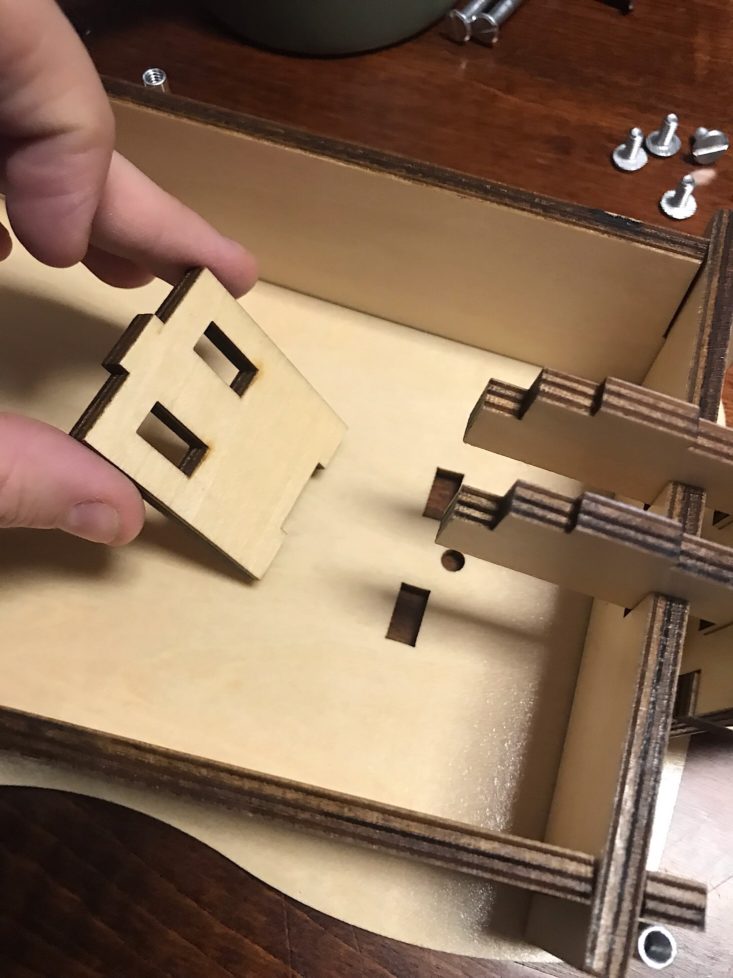
I had to support the neck during this part while adding in a few of the smaller pieces which were a bit tricky.
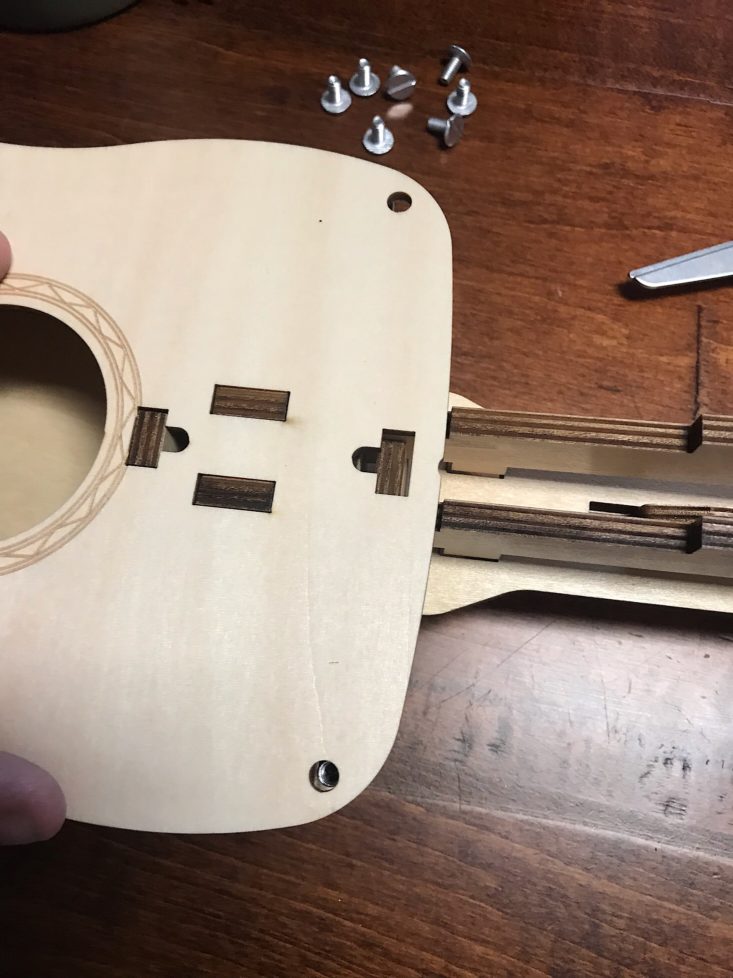

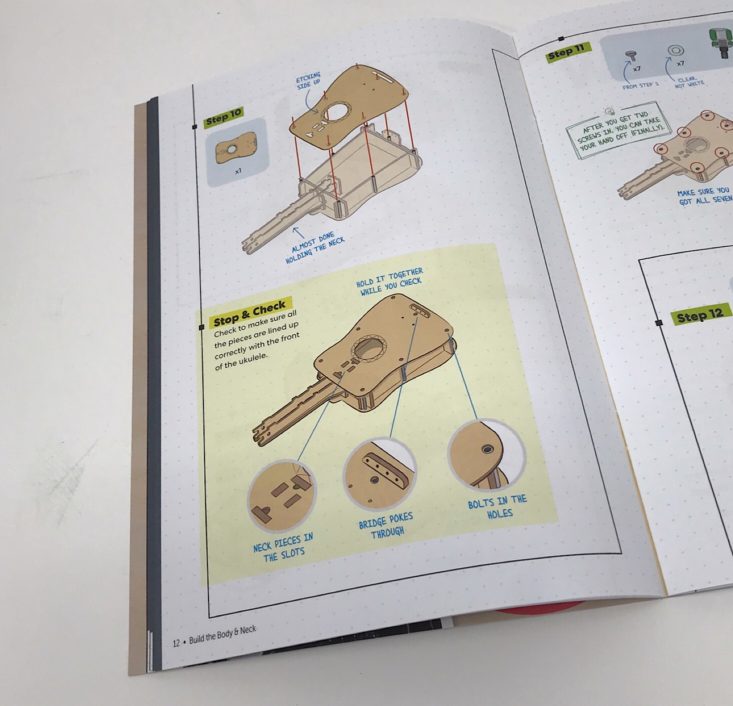
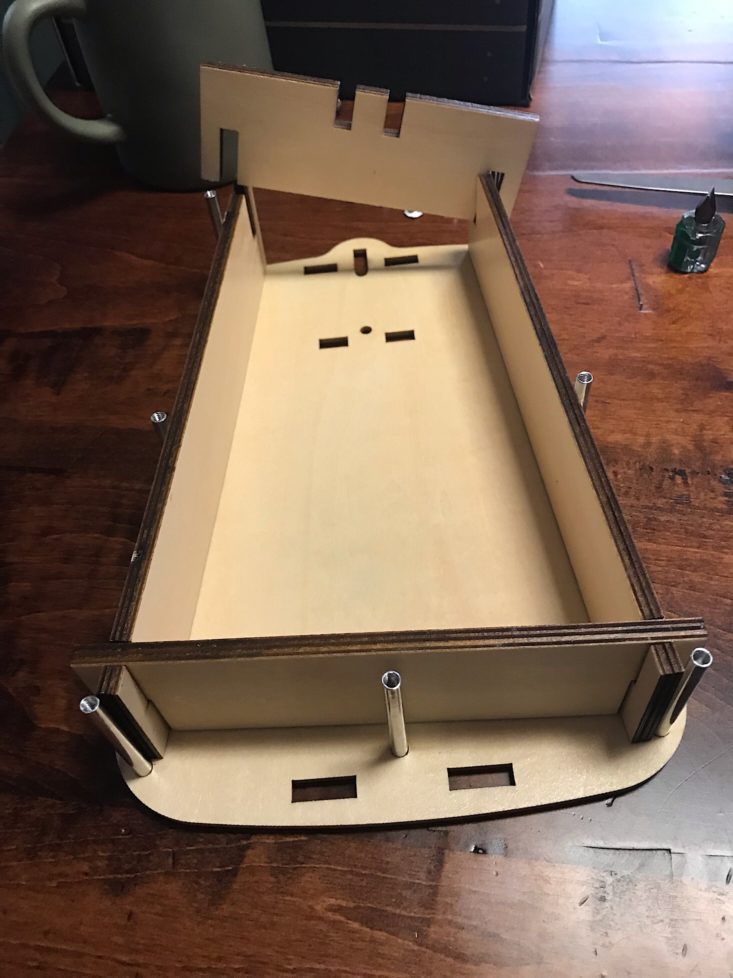
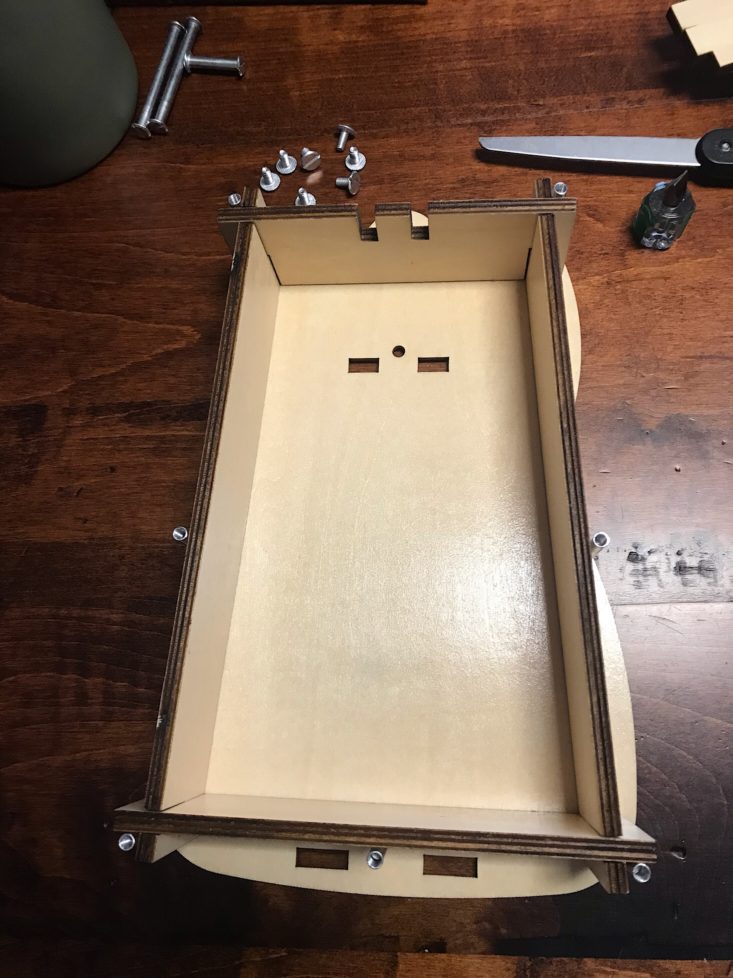
Then we added the face of our ukulele and made sure the holes lined up. I love that they include these helpful checkpoints along the way which really helps ensure the process runs smoothly!

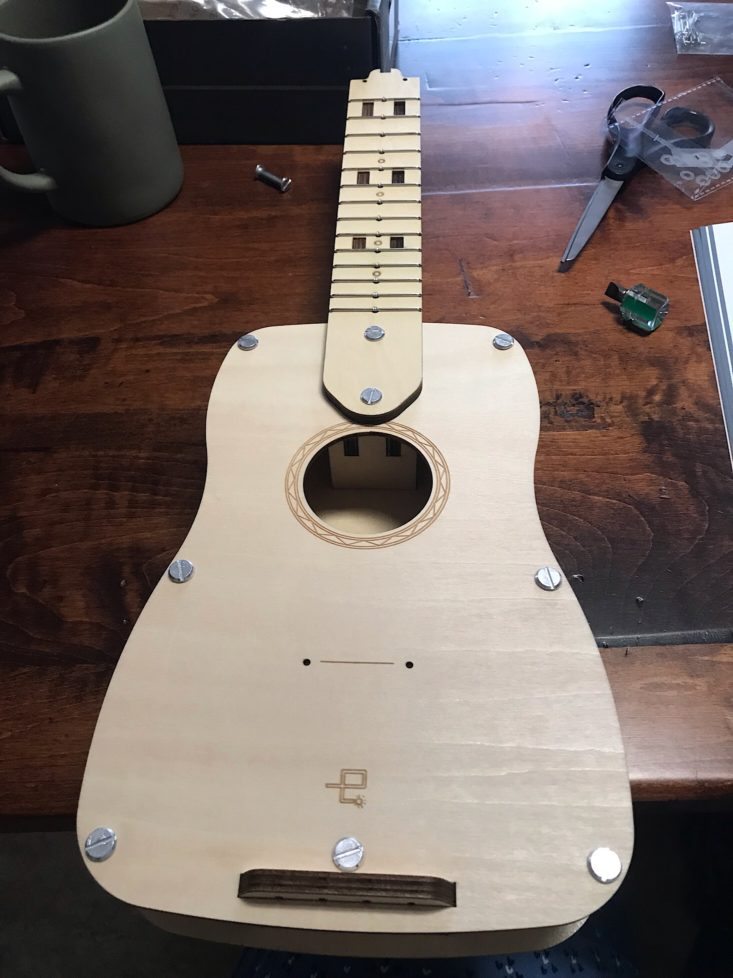
Next, we added our fretboard using the metal rods and screws.
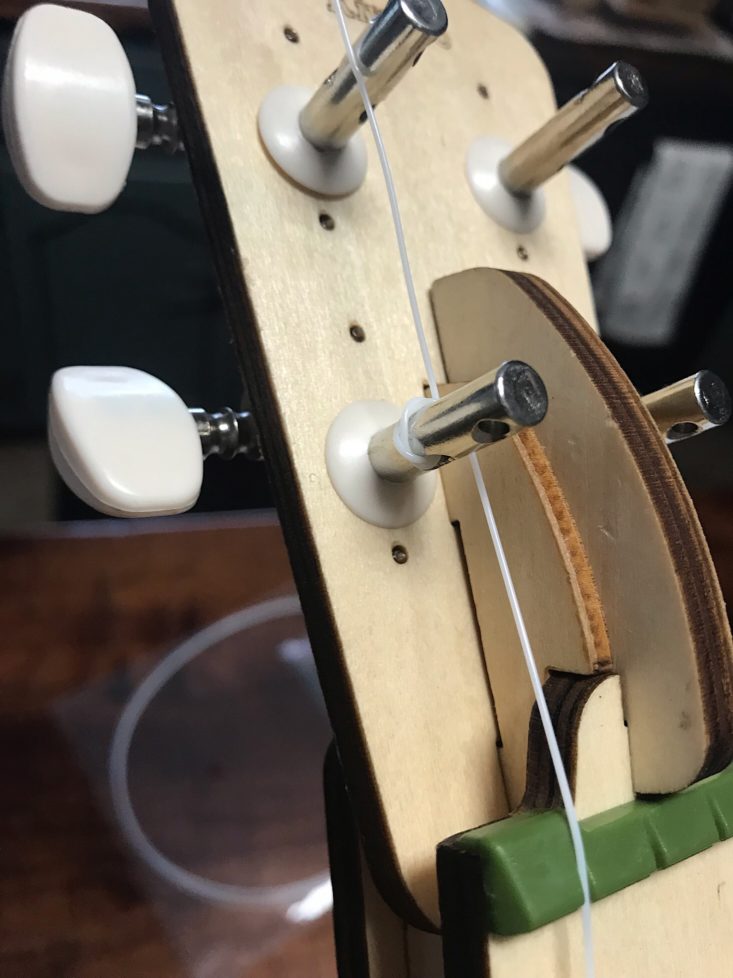
Part C: Add the Head
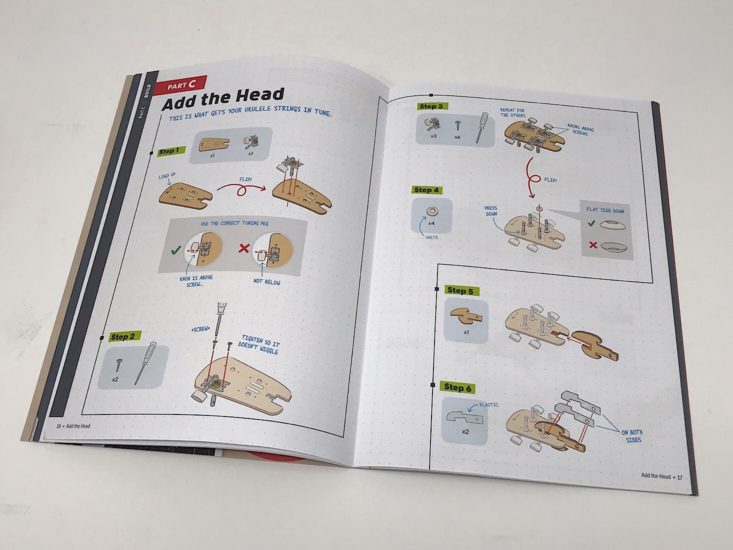
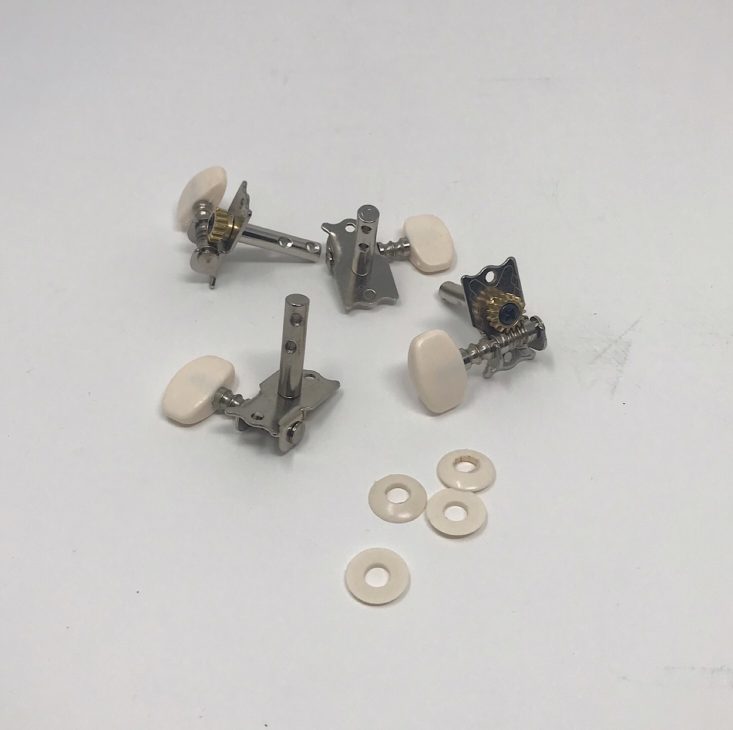
Now it was time to add the head!

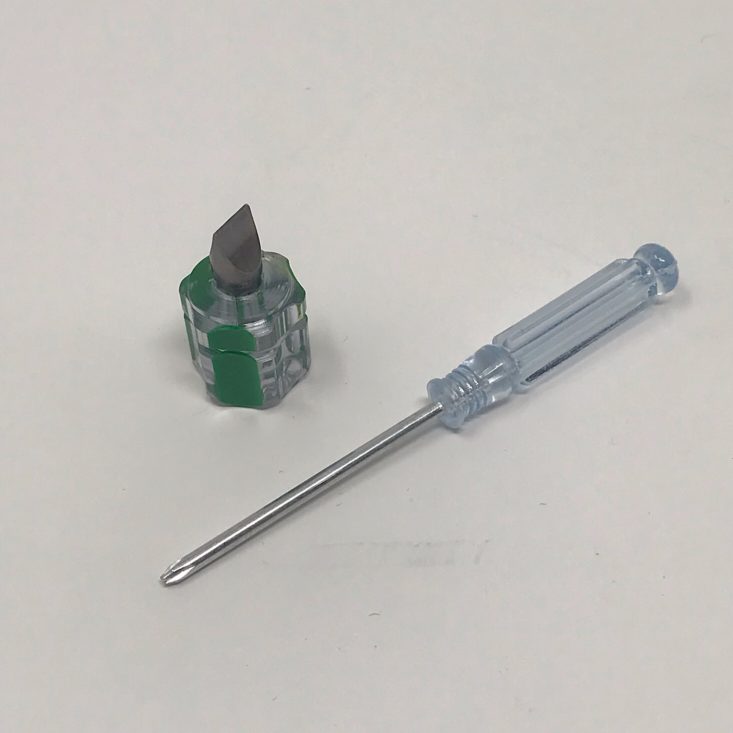
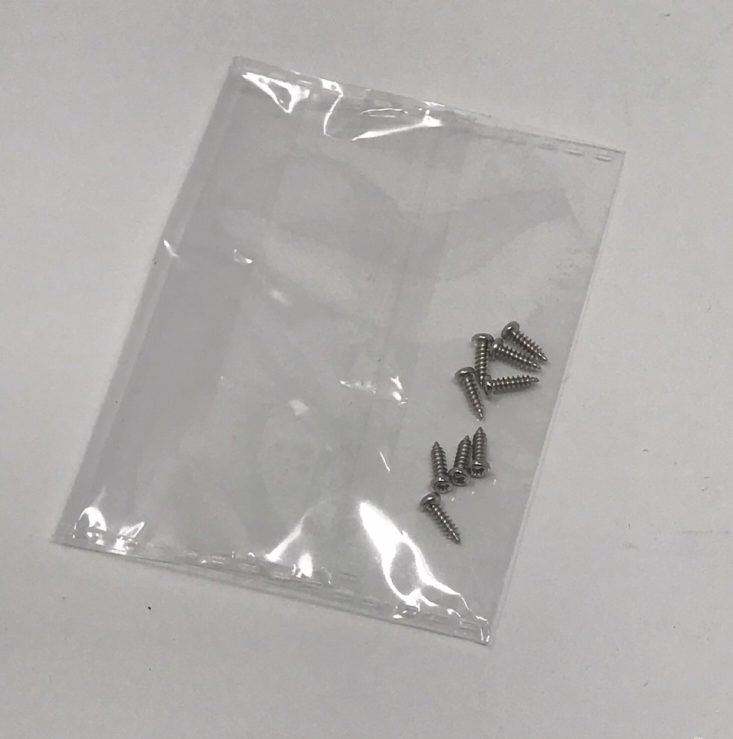
I added the tuning pegs and then used the little Phillips head screwdriver and mini screws to secure them to the head.

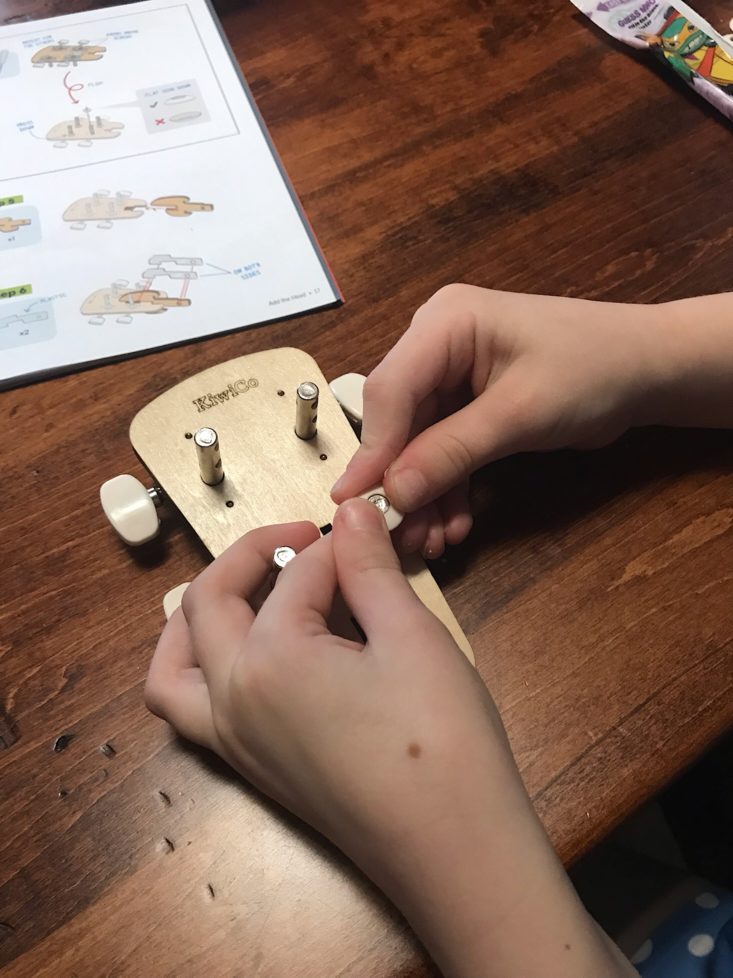
Once those were secure, we flipped it over and my daughter placed the little white rings they provided onto each piece.
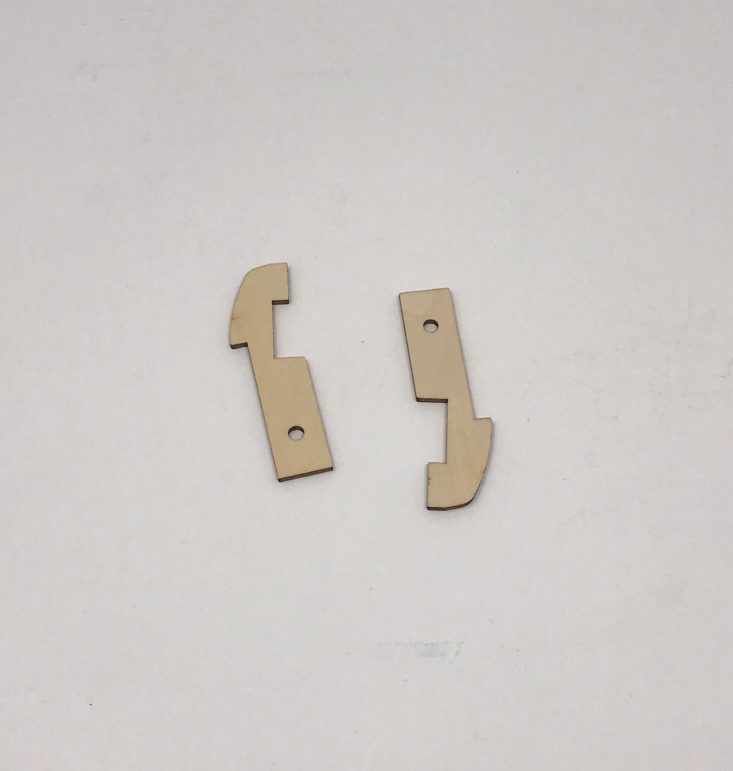
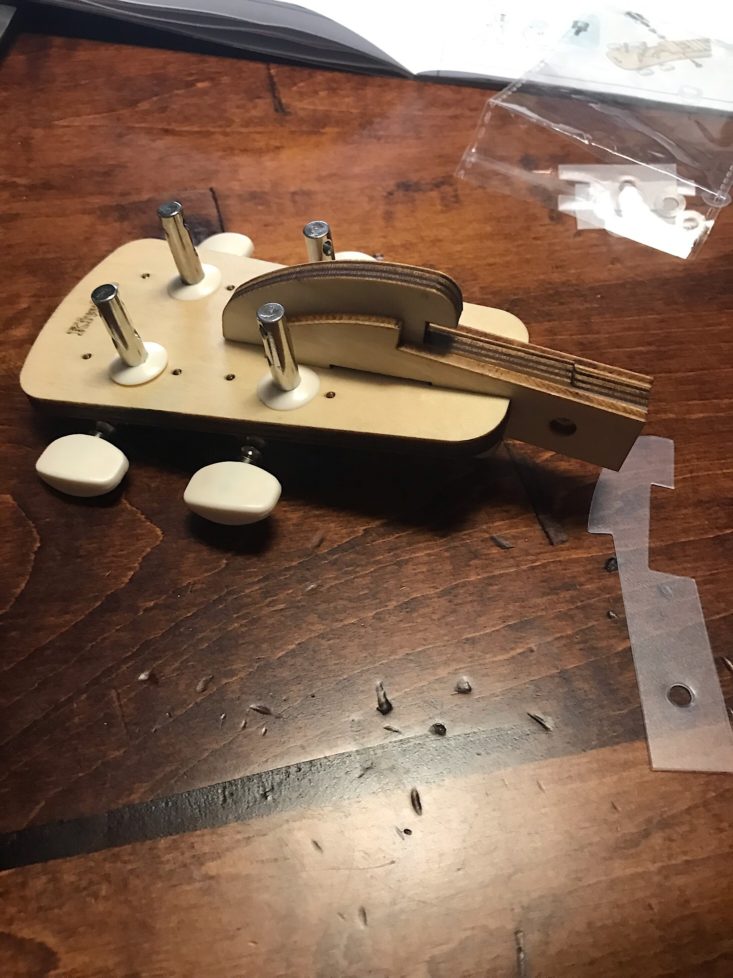

Next, we needed to add some pieces that would attach the head to our fretboard. They provided these little plastic pieces that helped to ensure a snug fit. I ended up only using one of each even though they provided two. It was actually pretty hard to get the pieces together because they did fit so snugly, which is a good thing!
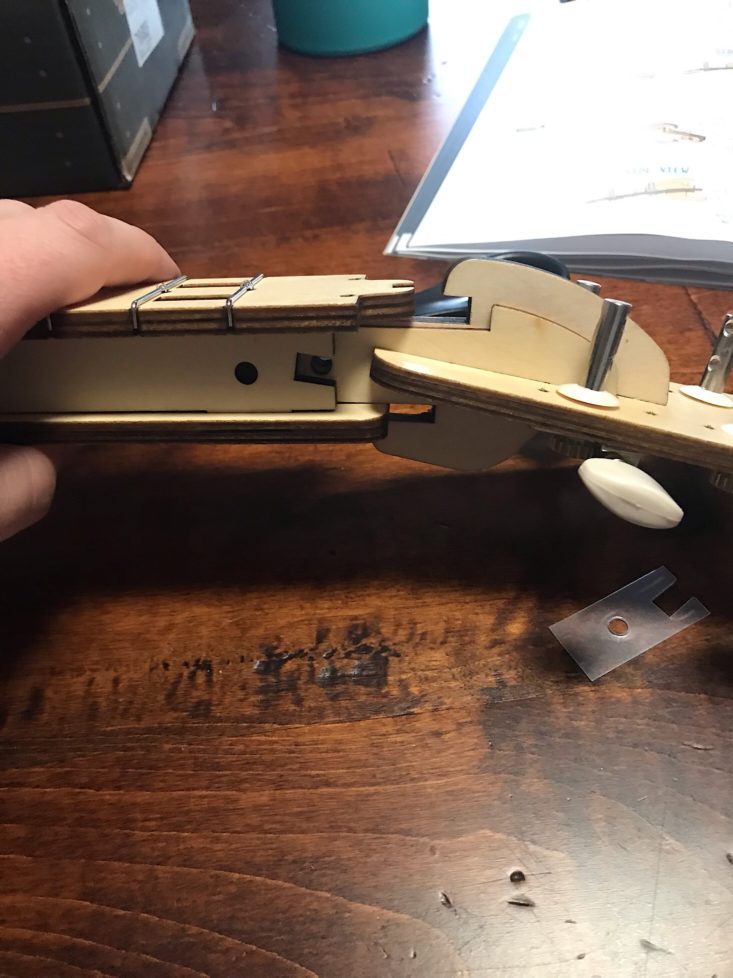
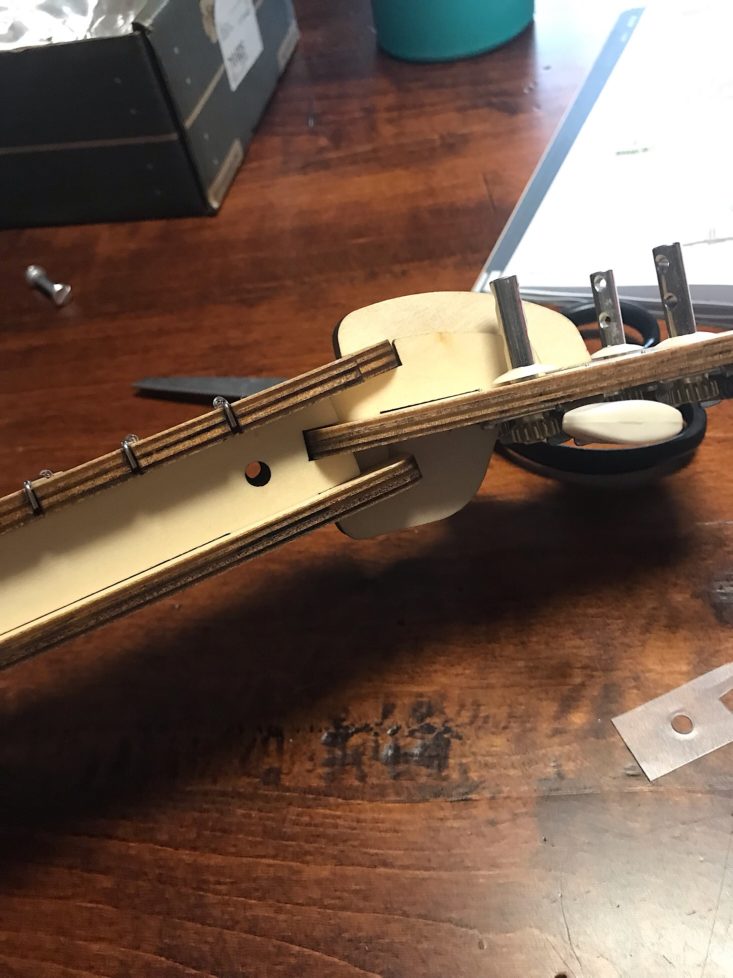
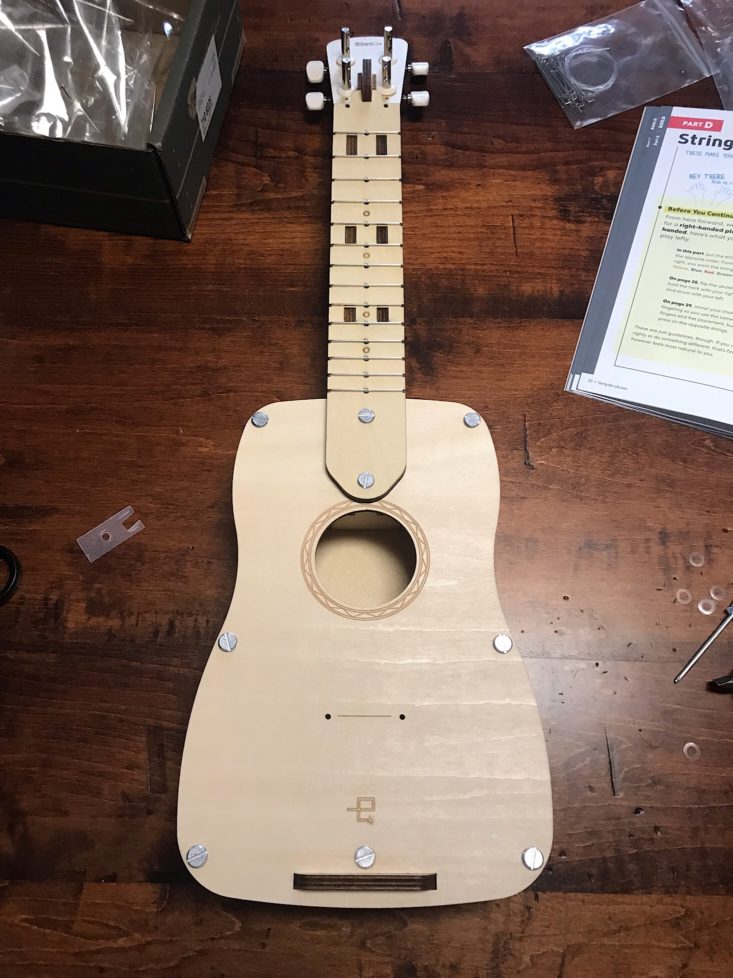
Then it was time to attach the entire head to the fretboard by fitting the pieces together where they matched up. Now we had a ukulele complete with a body, neck, and head!
Part D: String the Ukulele
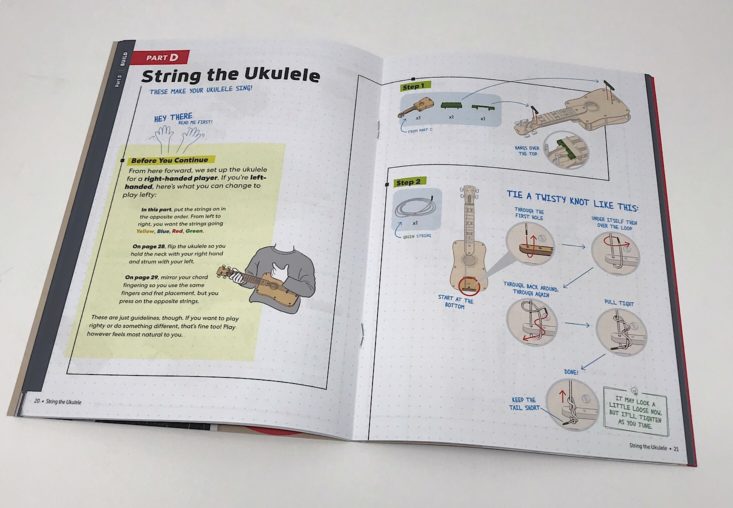
Now it was time to string the ukulele. This was definitely intimidating, but the directions made it so easy!
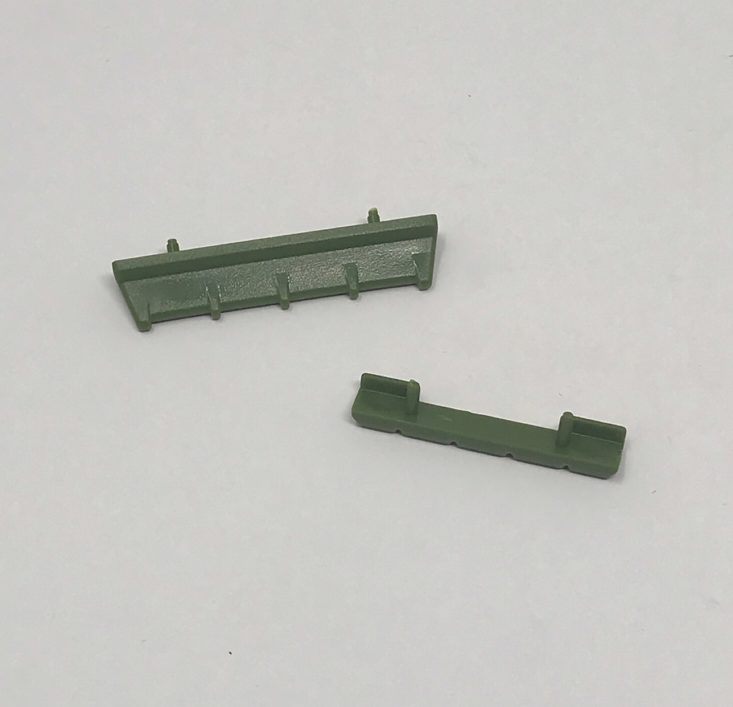

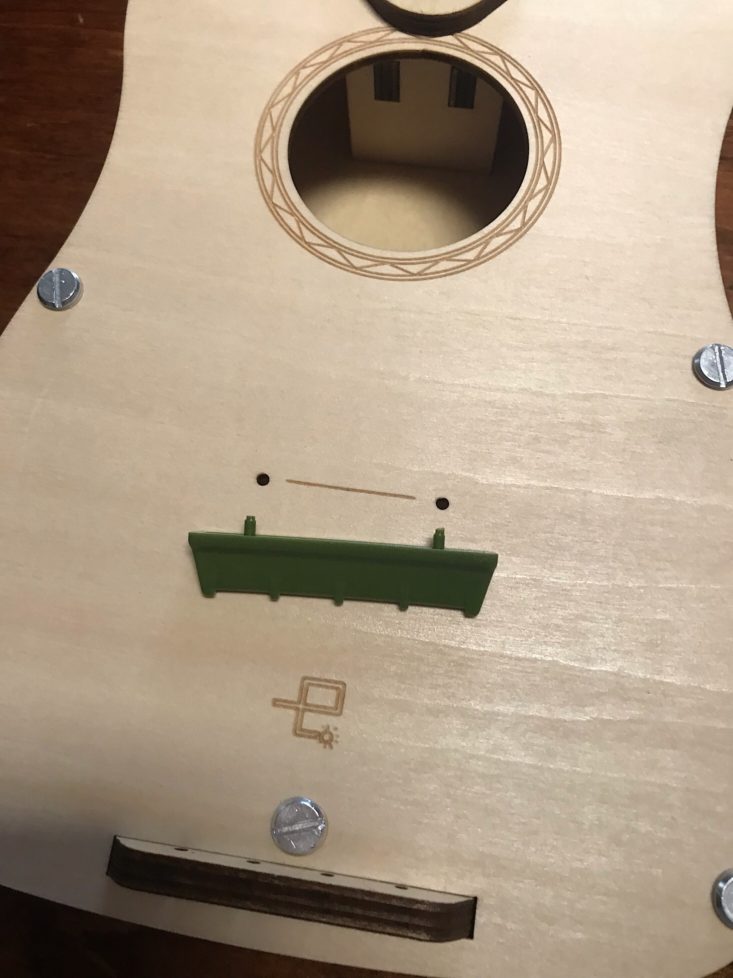
Before we could string it, we needed to add these two green saddles which would help our strings stay in place.
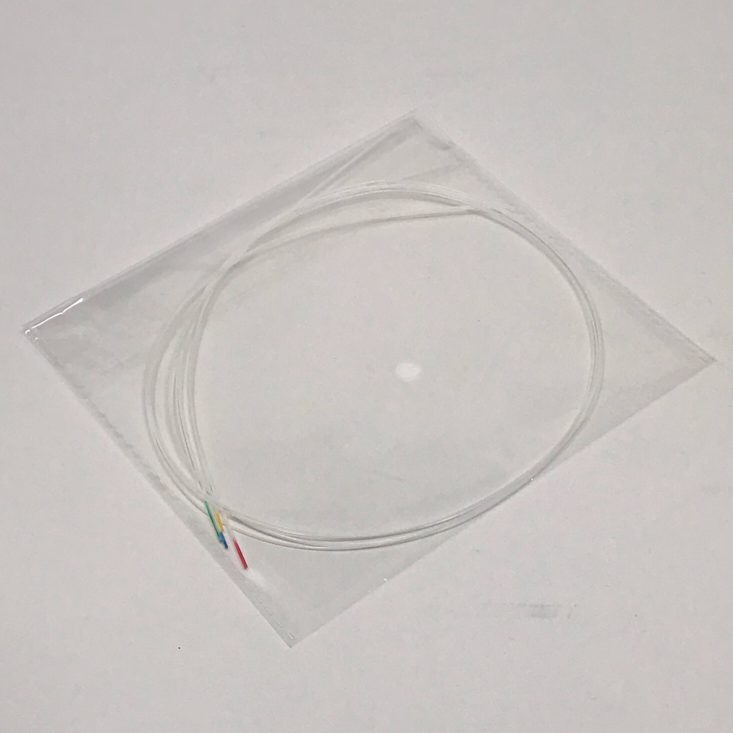
All of the strings had a little-colored section at the bottom so that we could identify and distinguish between them. First I used the green string and tied a twisty knot using their method which was explained thoroughly through pictures.
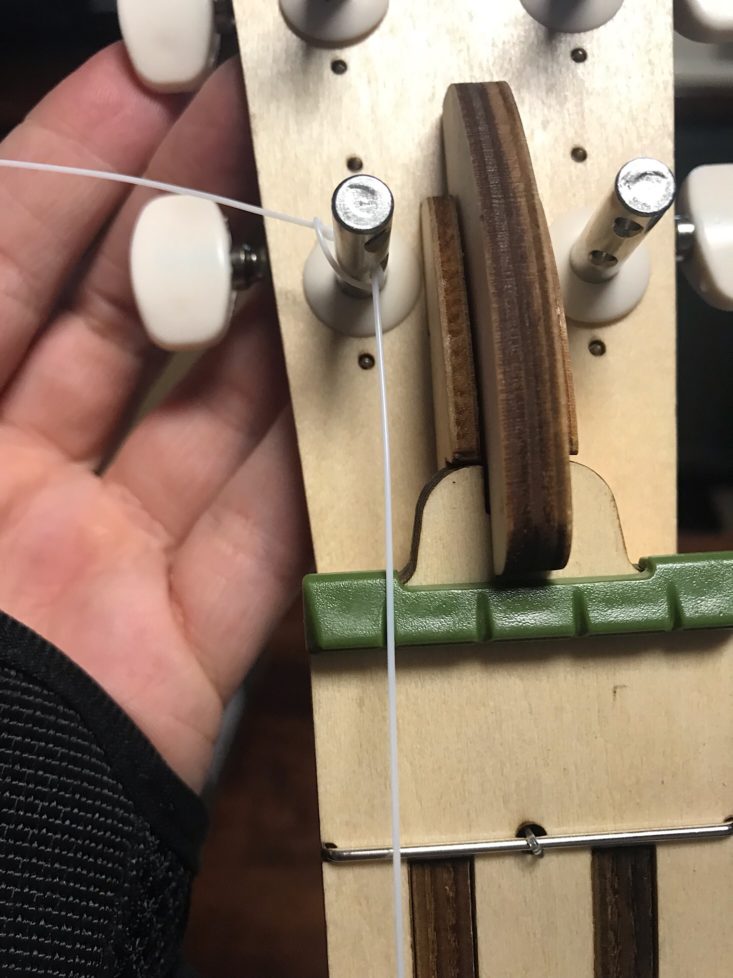
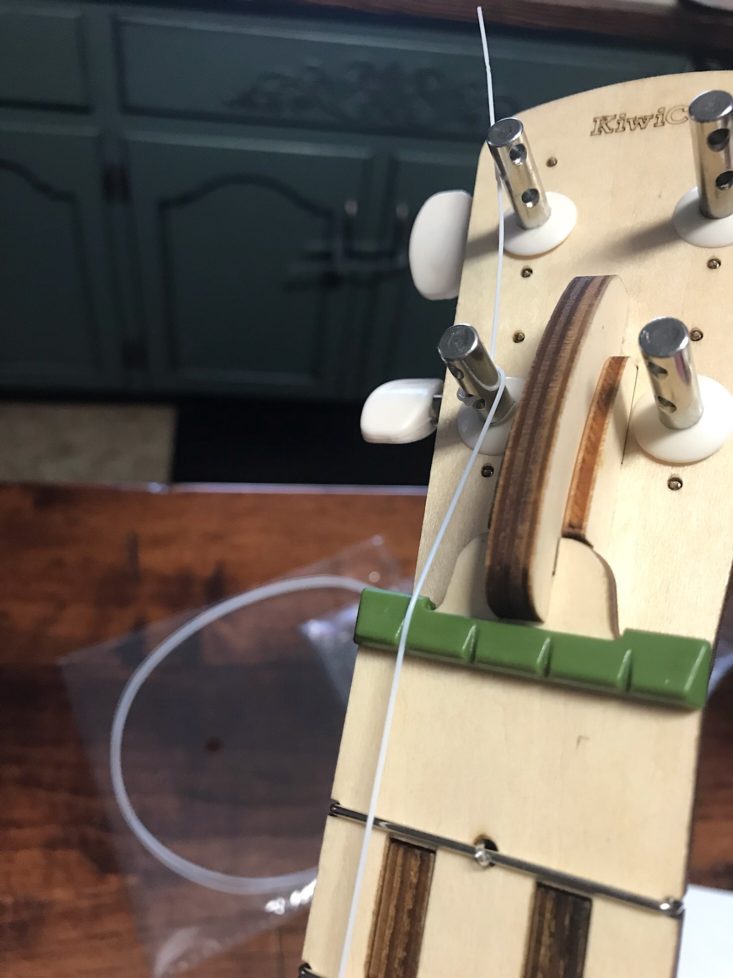
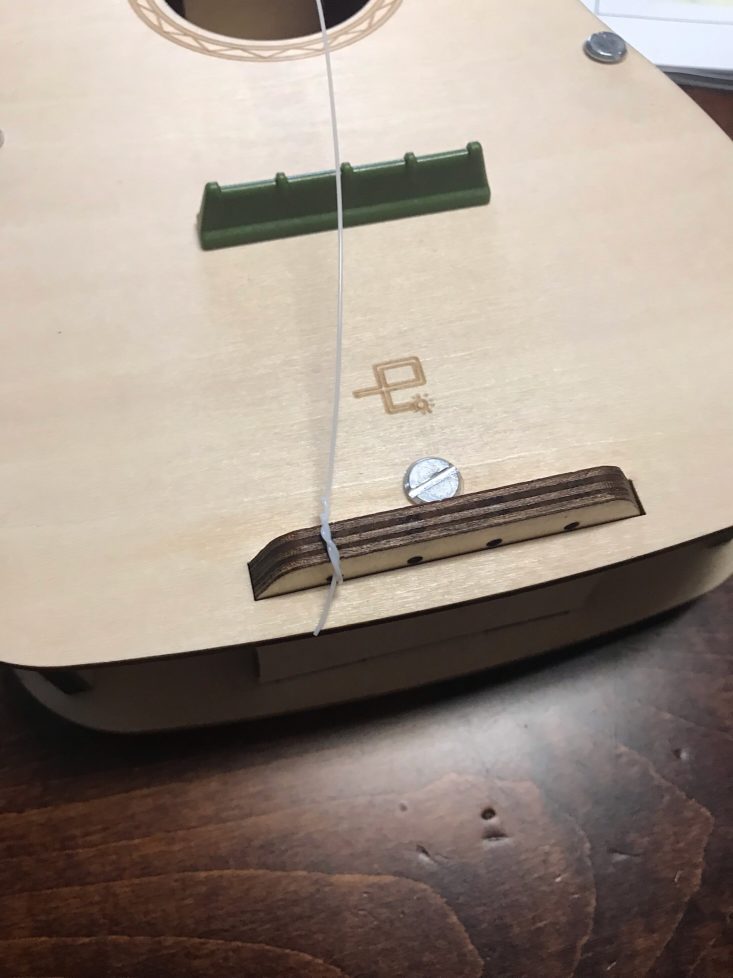
Then it was just a matter of bringing it up and over the saddles, fitting it into the notches and stringing it through the correct tuning peg. This was fairly easy, although the red cord, which was our C, was so much thicker and took me a few tries!

Once it was all strung, I cut off the excess string.

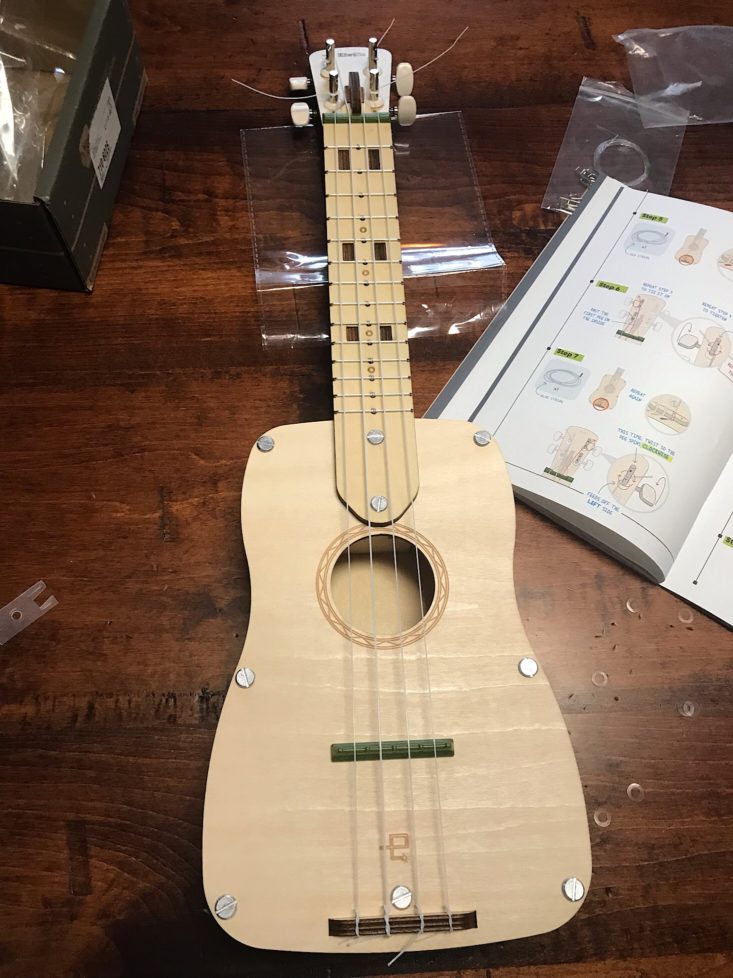
Here is my finished ukulele. It was definitely a cool feeling to know that I created this on my own! I think anyone would get such a great sense of accomplishment from this project and the way that this is set up, it is difficult not to be successful. Although, some younger kids might need some help with the stringing because even I found that difficult, which was no fault of the design though.

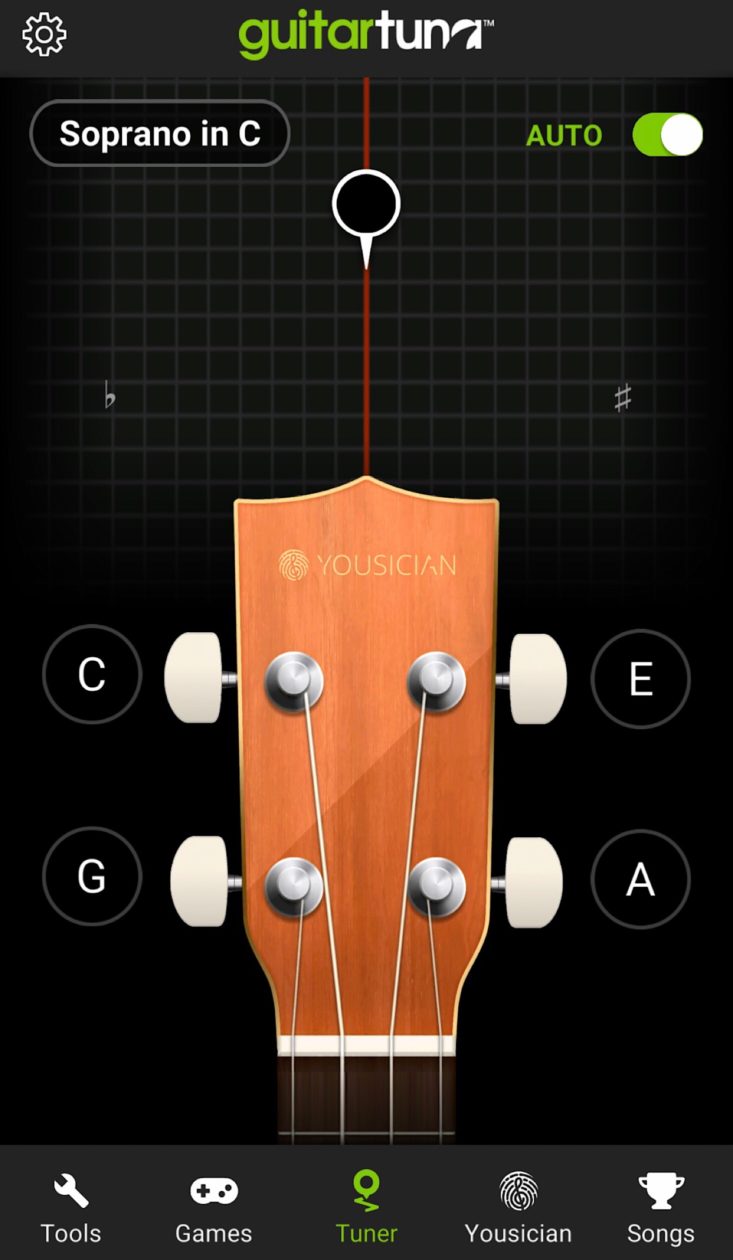
Before we could play, we needed to tune our ukulele. They recommended a few apps and I downloaded this one called GuitarTuna which was free and very helpful!

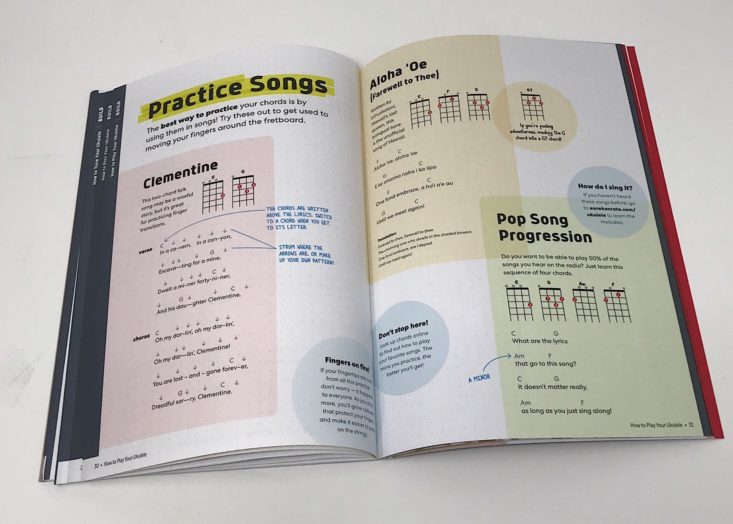
They even included some information on playing the ukulele as well as some practice songs for us. I thought this was so great that they didn't just leave you with a finished product, but also provided some information to help us utilize it!
The first video is my four-year-old daughter testing it out. The second is me strumming with my two-year-old son filming and humming along. I am terrible at string instruments so it is going to take me a little while to learn anything worth hearing on this thing, but the kids absolutely love it! The ukulele is one of those instruments that sounds nice on its own and they have been making up silly songs to go along with their tunes.

Now that we are experts at ukulele building, they provide a fun design challenge where you can put your newfound knowledge and skills to the test if you want to. I think this is such a fun extension activity!
Verdict: I never thought that I would be able to build my very own ukulele, but with the incredible guidance and well-prepared materials from Eureka Crate I was able to do this in just under an hour and a half! They recommend this box for ages 14-104 and I definitely think that it's appropriate for all of the ages that range encompasses. I get a profound sense of accomplishment each time I finish one of these projects and this time I even have something that I can use to learn a new skill if I want to. I love the fact that they don't just leave you with a ukulele, but they also give you information about it and even some assistance in learning to play it. As a parent and former educator, one aspect I love about these boxes is that you get so much more out of this experience since you build it yourself. This provides such a greater understanding of the ukulele and how it works that now I feel more confident in my abilities to fix it or re-string it if I need to. This is definitely worth the $29.95 + free shipping cost of the box to me!
To Wrap Up:
Can you still get this box if you sign up today? It is possible you might get this crate, but it is not a guarantee. From KiwiCo:
Crates are assigned each month based on availability and your crate history - not all subscribers receive the same theme each month.
Check out all of our KiwiCo reviews and more boxes for ages 14+ in the Tweens Subscription Box List!
Keep Track of Your Subscriptions: Add this box to your subscription list or wishlist!
What do you think of Eureka Crate?


Please do not enter your email address in the Name field or in the comment content. Your email address will not be published. Required fields are marked *. Remember to post with kindness and respect. Comments with offensive language, cruelness to others, etc will not be approved. See our full comment policy here.