

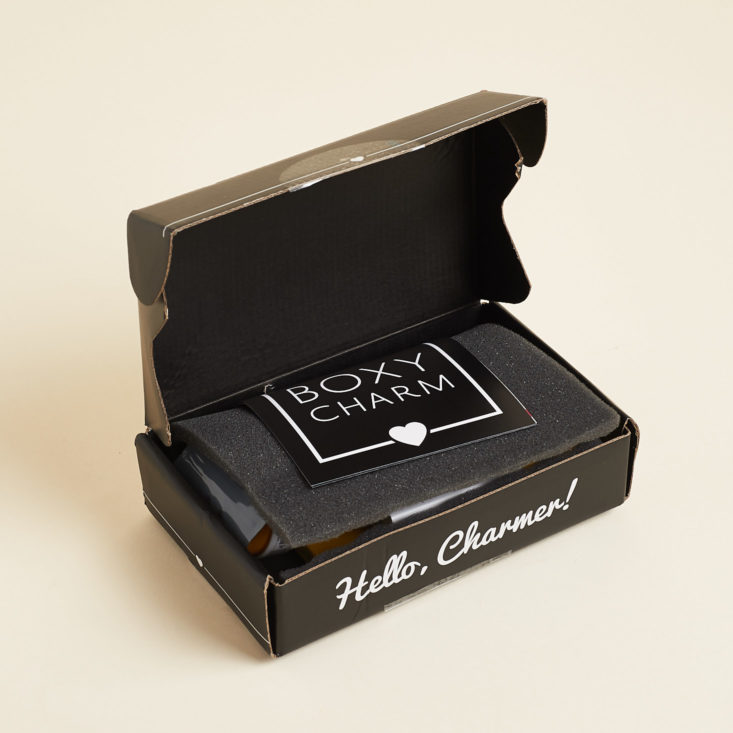
BoxyCharm is a popular full-size beauty and makeup subscription box. (Check out our full review of the May 2018 Boxycharm box to learn more about each of the items this month.)
Today, I'll be showing you how I used some of the items in my June BoxyCharm box! I'd love if you shared what products and techniques worked for you in the comments as well! What items were your favorites? Which products have you been reaching for all month? Let's talk about all things June BoxyCharm.
But first, here are the box basics:
About BoxCharm
The Subscription Box: BoxyCharm
The Cost: $21 a month
The Products: 5-6 beauty items that will include nail care, skin care, makeup, haircare, fragrance and more. (At least 4 of those items will be full-sized).
Ships to: The US and Canada
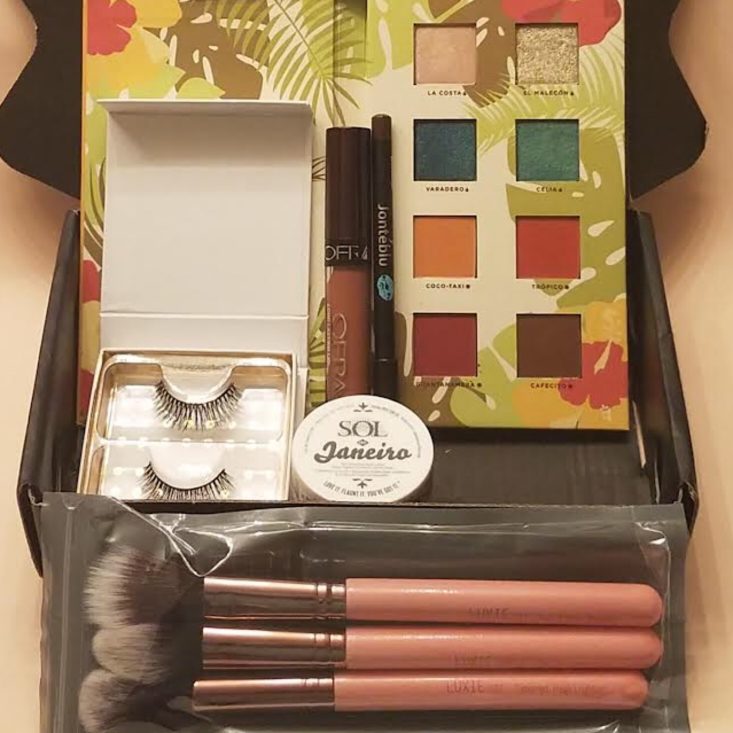
In June's box, I received the following:
- Alamar Reina Del Caribe Eyeshadow Palette
- Battington Monroe Silk Lashes
- Sol Deric Janeiro Brazilian Bum Bum Cream
- Luxie 3 Piece Flawless Complexion Brush Set
- Jonteblu Waterproof Eyeliner Pencil
- Ofra Long Lasting Lipstick
Last month had a more simple box with some pretty great things, but this month we are back in color! I like the creative theme of "Caribbean Queen" and how one of my favorite YouTubers Kathleen Lights is included this month. I am in love with the eyeshadow pallet and with all this color, there is no way I was going to play it safe! This month we're stepping outside the box! Since we received so many great things this month I have a lot to discuss and how it did or did not work for me, so let's get started!
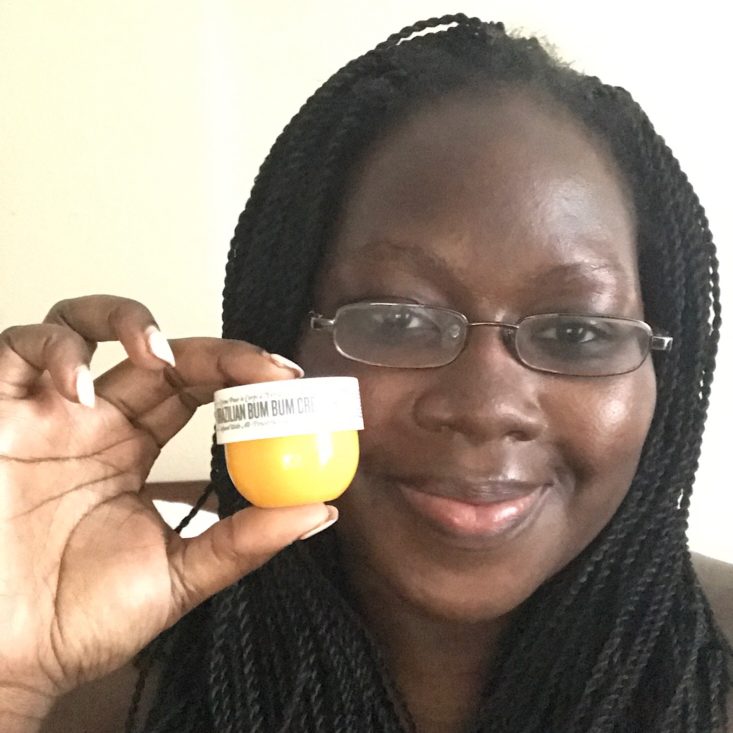
Since I was unsure about our first product I decided to do a little research and mostly what I saw was very positive. This product is designed to tighten and smooth the look of skin. Its made for the bum & other body parts. It also contains caffeine and other unique ingredients that make this product so exciting to try. I took a dime-sized amount of the Brazilian Bum Bum Cream and rubbed it on my thighs and legs. It's super hot & humid in the great state of Texas and a great day for a pair of shorts. So let's see if this popular cream lives up to its name. First, It smells simply amazing! It's thick and slightly whipped texture makes it a treat to use. I smell a lovely mix of bananas & coconuts. A very pleasant smell that lingers in the air well after you put it on! As far as my skin tightness and firmness, well I guess I have to try it more than once in order to give you a proper review. So far the smell alone will have me coming back for more!
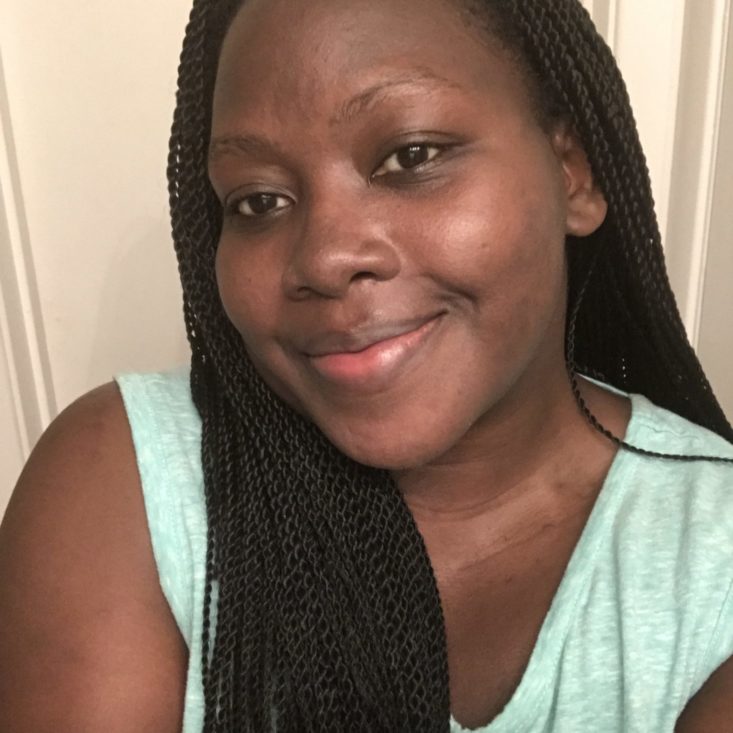
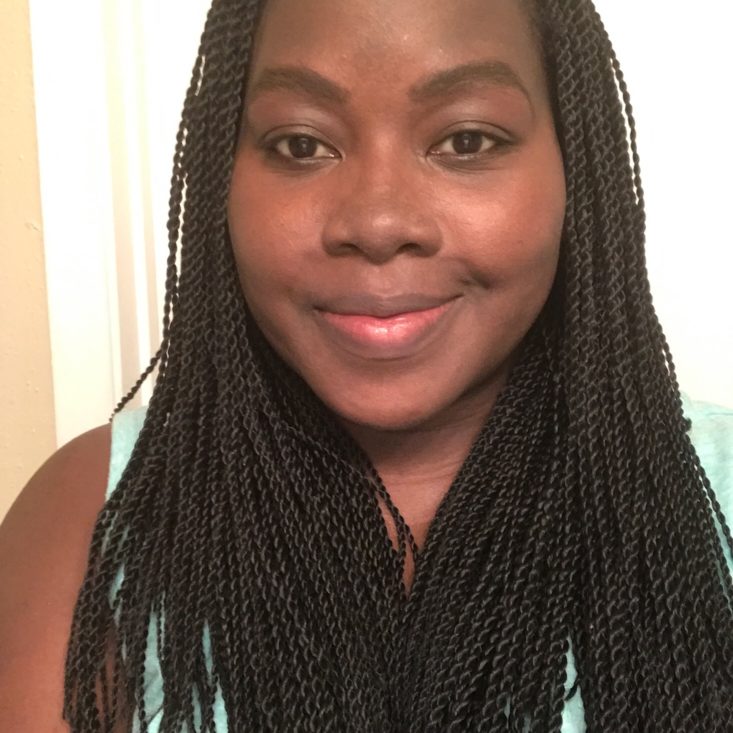
As usual, I began with a bare face.
Then, I added Primer, concealer and filled in my brows. I always allow my Primer to settle into my skin for at least ten minutes before adding foundation.
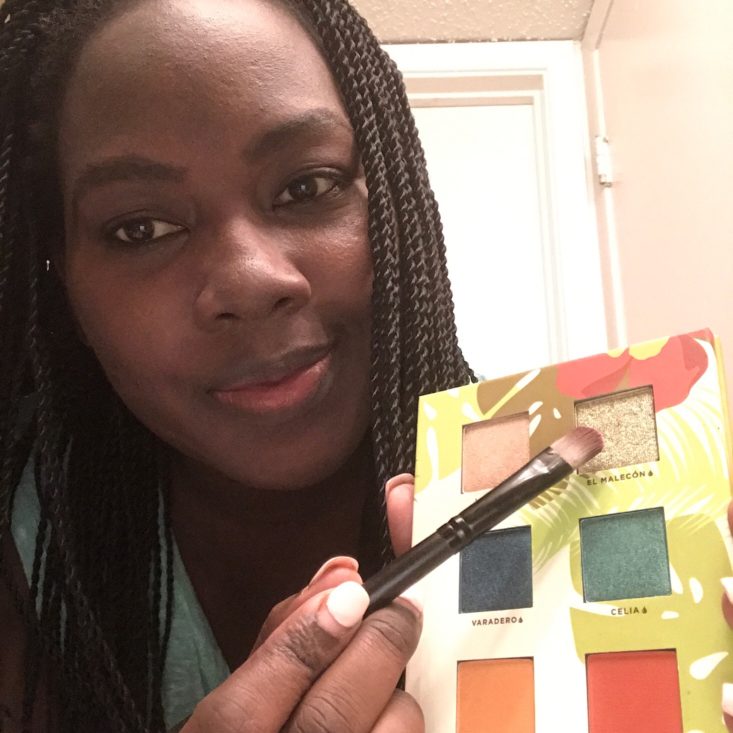
This is my first time hearing of the Alamar cosmetic brand. So I'm very interested to see how these shades blend and if the pigment is as bright and creamy as it looks. Even though there are three different volumes with this palette, BoxyCharm decided to feature volume 1 - the Reina Del Caribe palette. The name Alamar means "stay close to the sea" and that's how the names of these shades were chosen. This bright yellow packaging screams summertime! Inside there are four very colorful matte shades and four even more colorful metallic/shimmer shades. You will see that there is either a water drop or a small sun symbol next to the shadow names. This lets you know which shades to use with a wet brush and which ones to use dry. This is very helpful and in fact, the first time I've ever seen this. I was so intrigued with this Cuba-inspired palette that I decided to look up the names and their translation. I will have them in parentheses for you below. This palette looks very intimidating but I refuse to let that sway me and decided to go bold!
To begin I took a wet flat brush and went into the color "El Malecon" (seafront). I'm using my Make It Last Setting Spray by Milani Cosmetics to wet my brush but you can use water or whatever you have. This color is a slight light green/silver color and I plan on packing my entire lid with it. Right away I love how the color comes to life against my skin tone. I decided not to use a transition color with this look because the colors are so bold, they really don't need any help. Lol
As you can see there is some fallout but not too much, however, I still suggest doing your eye make first so you won't disturb your foundation. I cleaned the fall out after finishing my entire eye look.
Before moving on to the next color, I used a dry fluffy brush to soften the edges a bit.

Next, I took a more fluffy wet brush and went into the color, "Celia" (Latin name). I choose this color to match the teal color blouse I am wearing.
I swiped this color along my crease bringing it slightly higher so you can't miss this beautiful sea aqua color. Next, I blended the two colors with a smaller dry fluffy brush, just to soften the edges a bit. Here are the two colors together. FYI - these colors are very bright and metallic even when using a light hand.
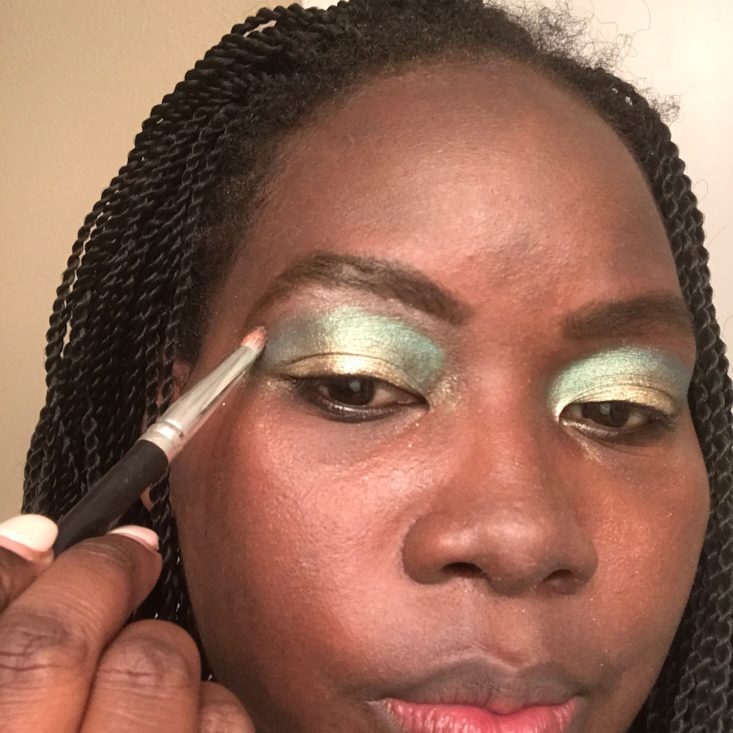
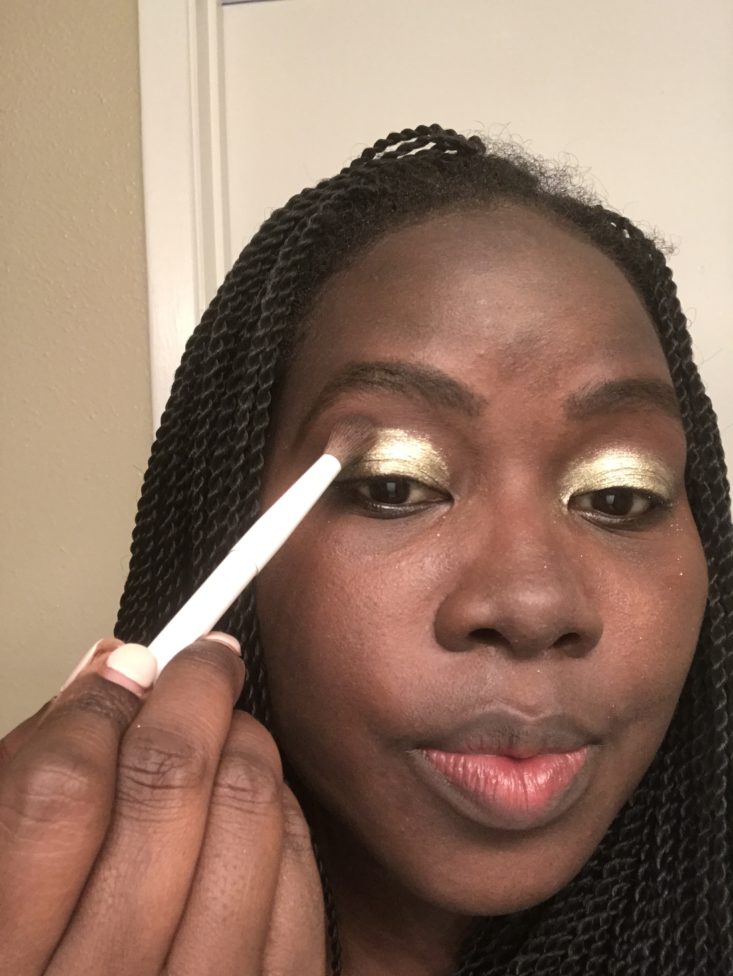
Under my brow bone, I took a tiny wet brush and added the color "La Costa" (coast or shore). Using a light hand, I blended this gorgeous light pink color under my brow bone and also the inner corners of my eyes, highlighting the area. Here is how my eyes look so far. I know it looks a bit of a mess right now but hang in there with me.
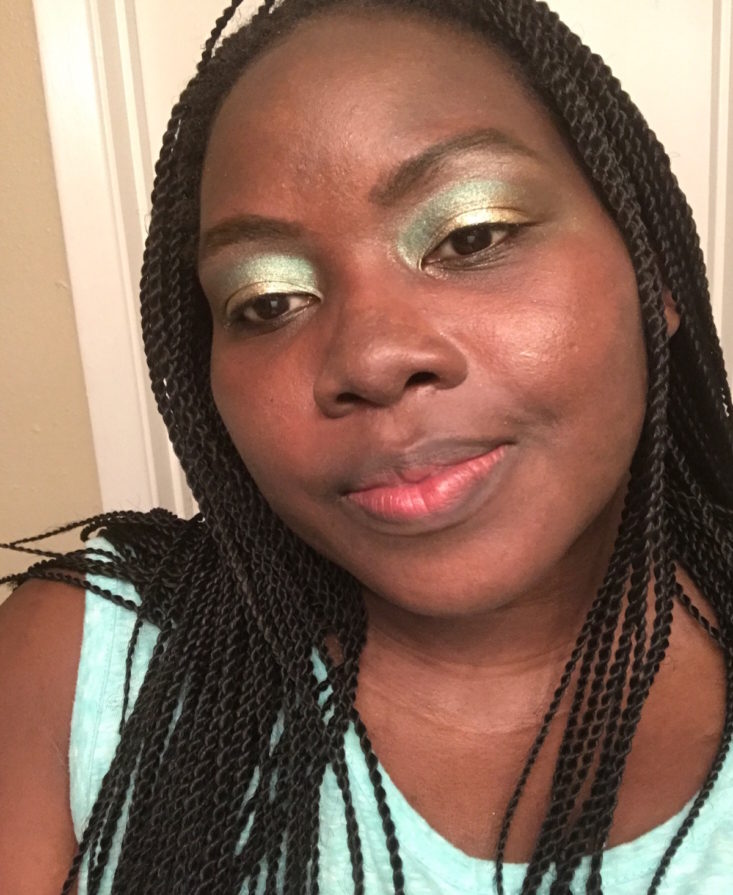
To finish up my eye look I took the color "cafecito" (black coffee) and with a dry medium fluffy brush added this to the outer corners of my eye so that all three colors mesh and blend outward. The colors are super blendable, some of the most blendable eyeshadows I have ever used. I usually always like adding a darker shade to the outer part of my eye look. I like to think it sort of completes my look giving it a nice fade outward. After that, I took a clean dry fluffy brush and blended out any harsh lines. I wanted a bold colorful look without looking like a clown. The key to getting these bold colors to work together is to blend blend blend! Then I applied a black eyeliner to my waterline and one thin coat of mascara. I used the thin coat of mascara to prep my eyes for our next product:
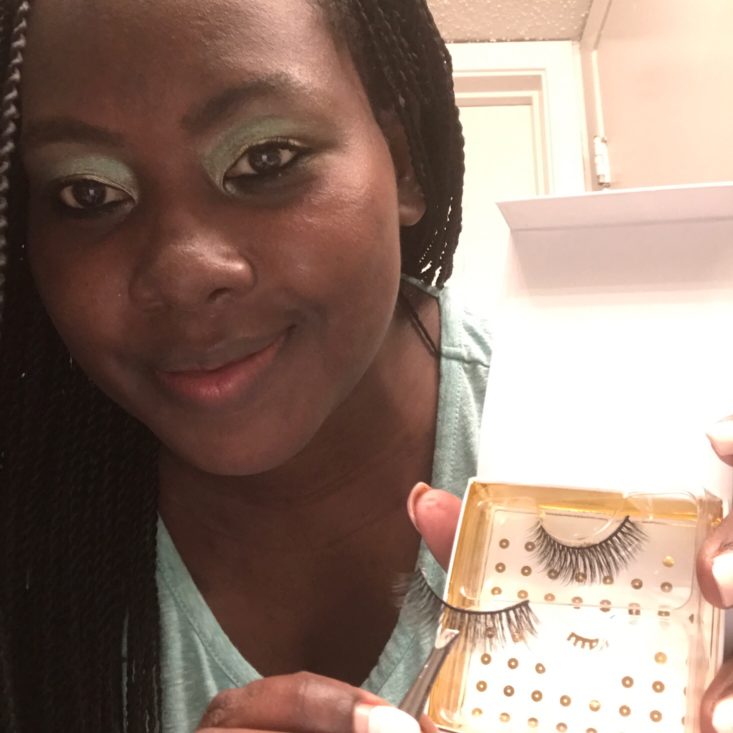
When I saw we were getting a pair of luxurious lashes from Battington Monroe, I was very excited. I have not treated myself to a decent pair of lashes in months. Thank you, BoxyCharm!
When the thin coat of mascara dried, I took my eyelash curler and curled my natural lashes. Applying a thin coat of mascara on before applying false lashes helps to blend your natural lashes into the false lashes more realistically. Basically, it helps fuse the two together for a more natural look. I used a pair of tweezers to hold the lashes in place as I placed the glue on the lash band. Allowing it to dry and become tacky is very important before adding it to your eyes. Here is my eye look fully complete. These lashes are so lightweight and comfortable, I'm in love with the outcome.
After cleaning up minimal fallout, I added my foundation and powder with the Luxie Rose Gold Precision Foundation 660 brush and I can absolutely say I love love (did I say love?) Luxie brushes so much. They are super soft and very good quality. I have received so many Luxie brushes from BoxyCharm that I have built a nice collection of soft pink rose gold brushes, just like these. My powder went on seamlessly.
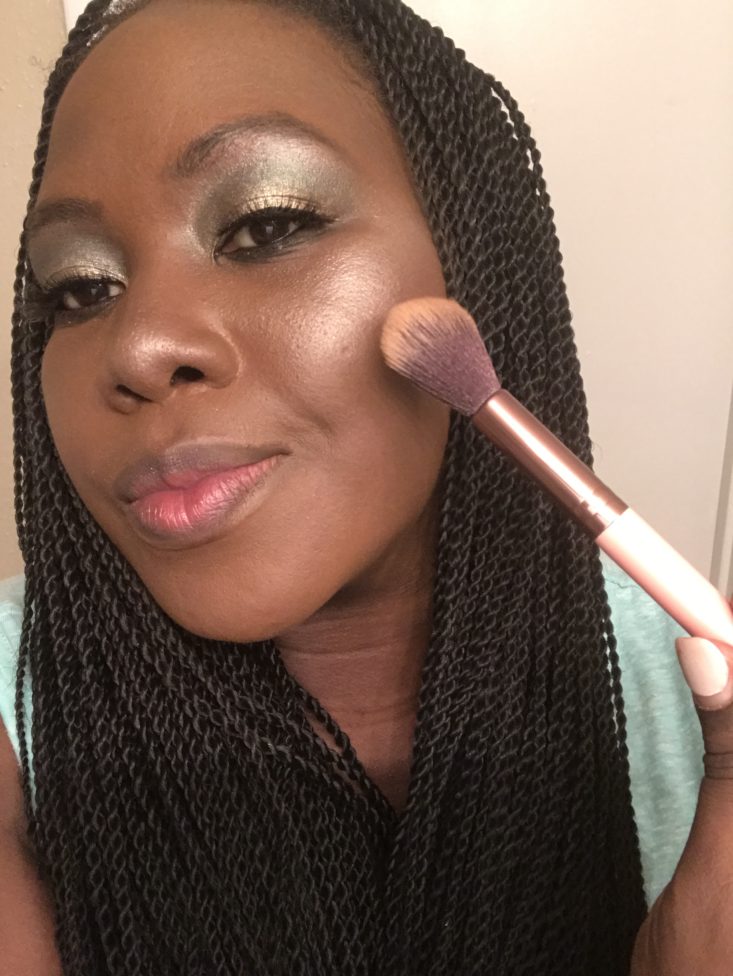
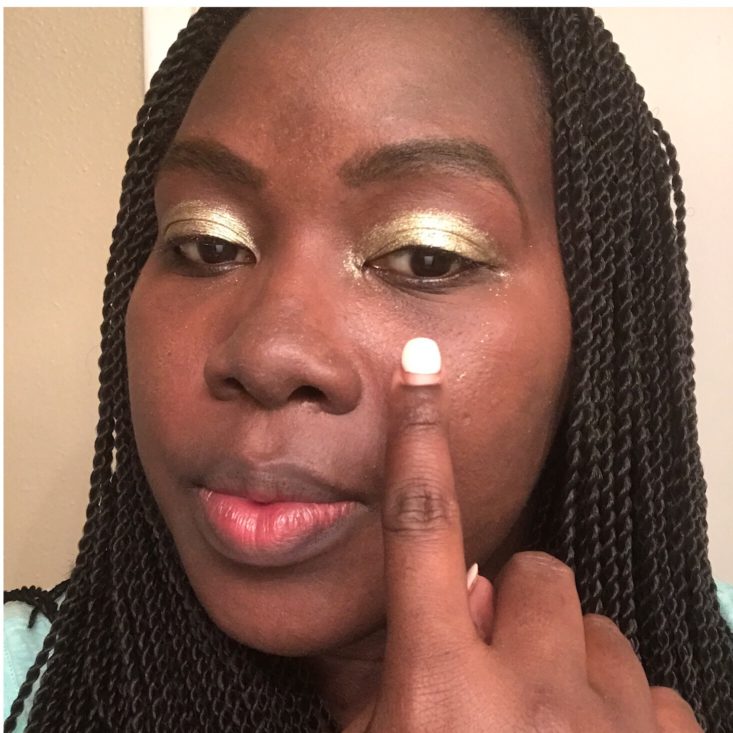
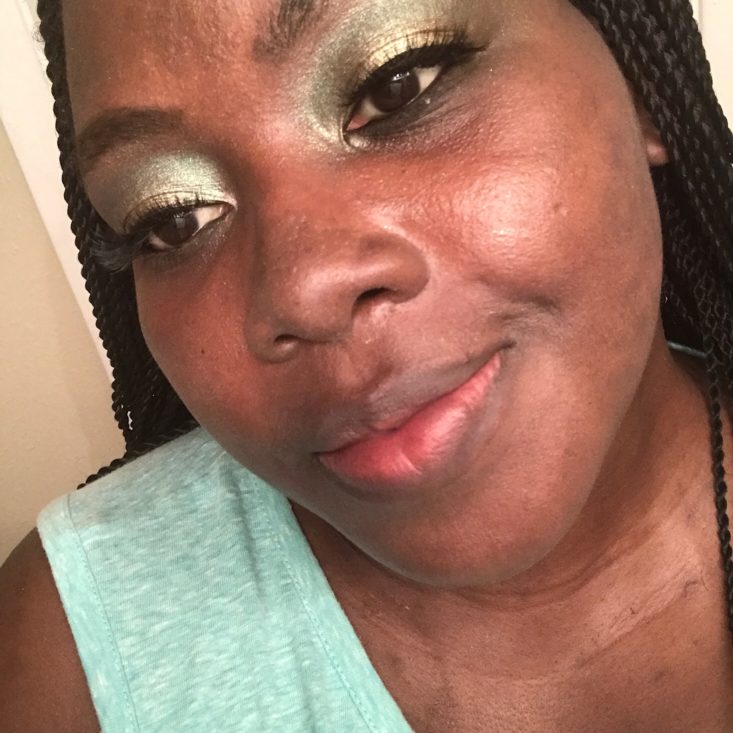
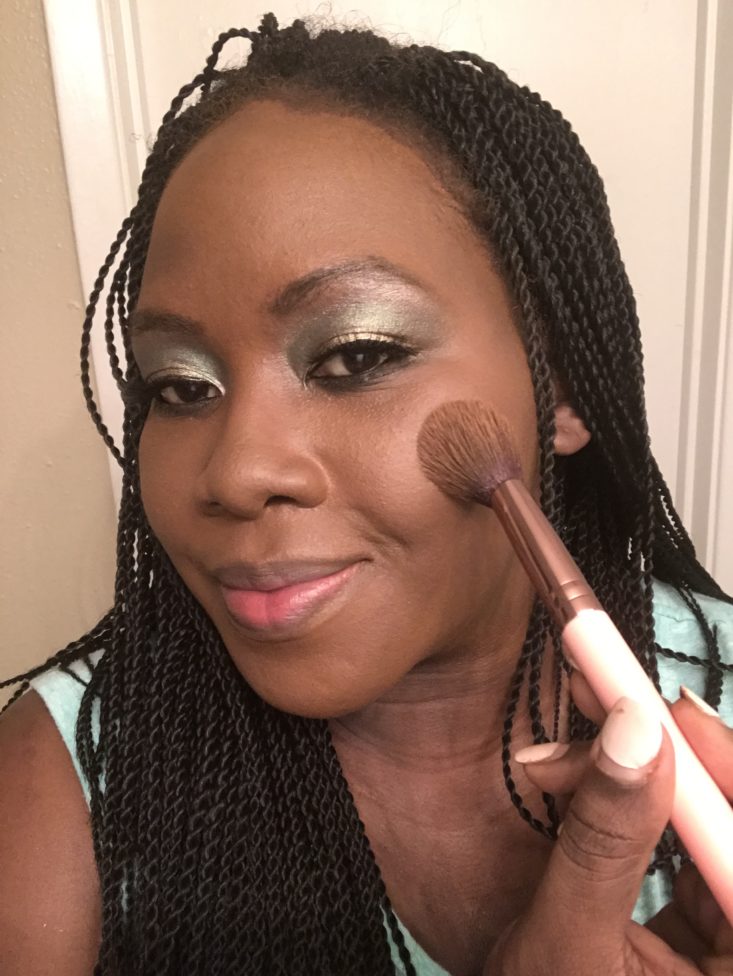
Now it's time to highlight and this time, I'm not holding back! I took the Luxie Rose Gold Tapered Highlighting Face Brush 522 and used the color "La Costa" from our Eyeshadow palette and placed a generous amount of highlight to my cheekbones and the tip of my nose. Here is how my makeup looks after adding a gorgeous amount of highlight. I think this Eyeshadow shade performed wonderfully as a highlight. Do you guys agree?
Then I used our last Luxie Brush, the Duo Fiber Powder Brush 516 to apply my translucent setting powder. All three of the brushes worked absolutely great which is no surprise to me. All of my Luxie Brush products have all worked amazingly.
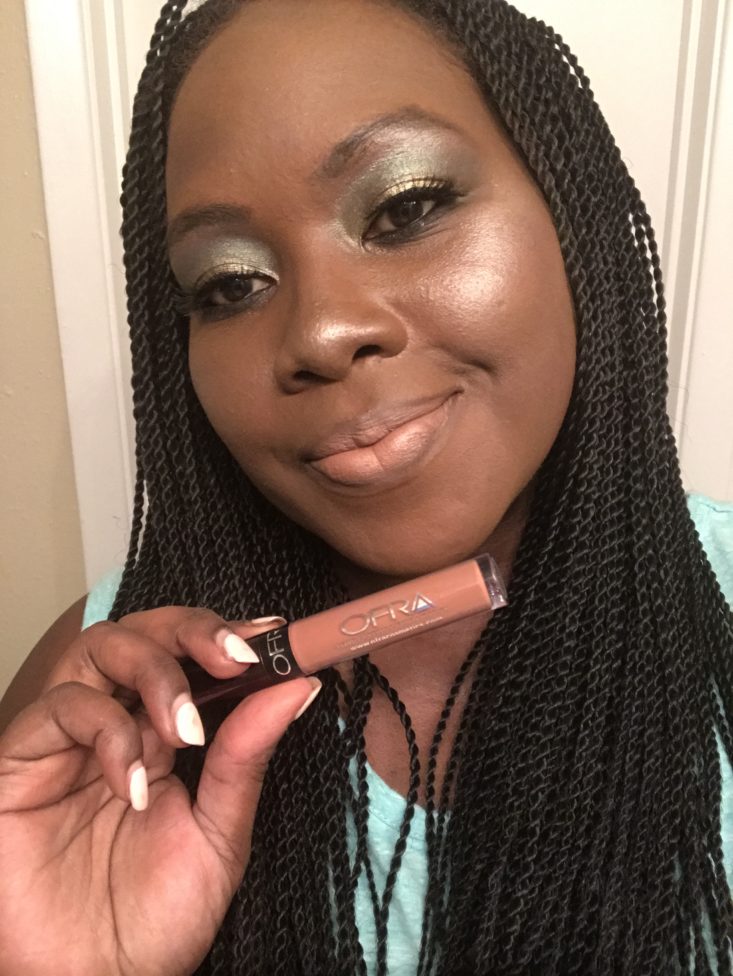
Finally, time to finalize this look. I have tried many liquid lips from Ofra Cosmetics before and I absolutely love the formula. It doesn't make your lips feel like the Sahara Desert once it dries down like a lot of liquid lips tend to do. I got the color “Verona” and to be upfront and honest, I don't like how it goes with the look I created. After two coats of the liquid lip, I used our last item from this month's box - the Jonteblu eyeliner pencil in 903 Dark Brown. After my matte lip dried down, I lined my lips with the eyeliner and then I took my finger and picked up the same highlight color and dabbed it onto my lips giving it a soft glow.
I have to be honest, I wasn't too thrilled with the lip color I received, I feel like it just washes my entire look out. However, I wanted to use everything we got this month. Not sure if this lip combo will work for too many people but I hope you guys enjoyed the process.
Quick Tip: No matter what brand of liquid lip you choose to use whether it has a good formula or not, I always suggest hydrating your lips beforehand. Coconut oil or even a nice chapstick will also do the trick to hydrate your lips while helping your liquid lip go on better and last longer. Not to mention be more comfortable throughout the day.
Verdict: I thought this month was such a fun and interesting box. From the Bum Bum Brazilian cream to my favorite brushes, I really enjoyed trying out all these great products. I'd love to know how you felt about the colorful shades in this month's Alamar Cosmetics makeup palette. Did the color selection scare you or did you jump right into creating your unique eye look? Let me know in the comments!
Check out all of our BoxyCharm reviews and the Beauty Subscription Box Directory!
What's your favorite item from the June Boxycharm Box? What do you think about the entire look? Too bold or just right?


Please do not enter your email address in the Name field or in the comment content. Your email address will not be published. Required fields are marked *. Remember to post with kindness and respect. Comments with offensive language, cruelness to others, etc will not be approved. See our full comment policy here.