

Paper Pumpkin is a monthly paper crafting subscription box from Stampin’ Up! They send everything you need for a fun creativity escape of paper crafting right to your door.
This box was sent to us at no cost for review. (Check out the review process post to learn more about how we review boxes.)
The Subscription Box: Paper Pumpkin
The Cost: $19.95 + free shipping in the US, $24.95 CDN in Canada
The Products: Everything you’ll need to complete the month’s paper project, including stamps, ink, accessories, and more. (Note: their FAQ does say you will need adhesive for some projects.)
Ships to: US & Canada
Check out all of our Paper Pumpkin reviews and the Craft Subscription Box Directory!
Keep Track of Your Subscriptions: Add this box to your subscription list or wishlist!
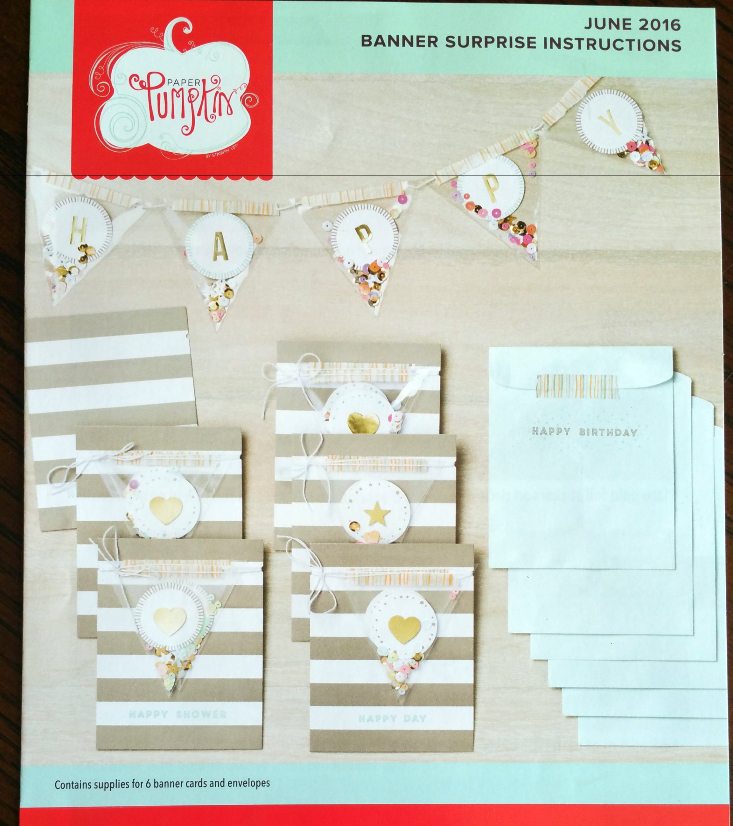
Each month’s kit comes with an information card that lists everything included in the box and pictures for ideas. For June, Paper Pumpkin sent out this “Banner Surprise” kit.

Inside you’ll find simple and photographed instructions.
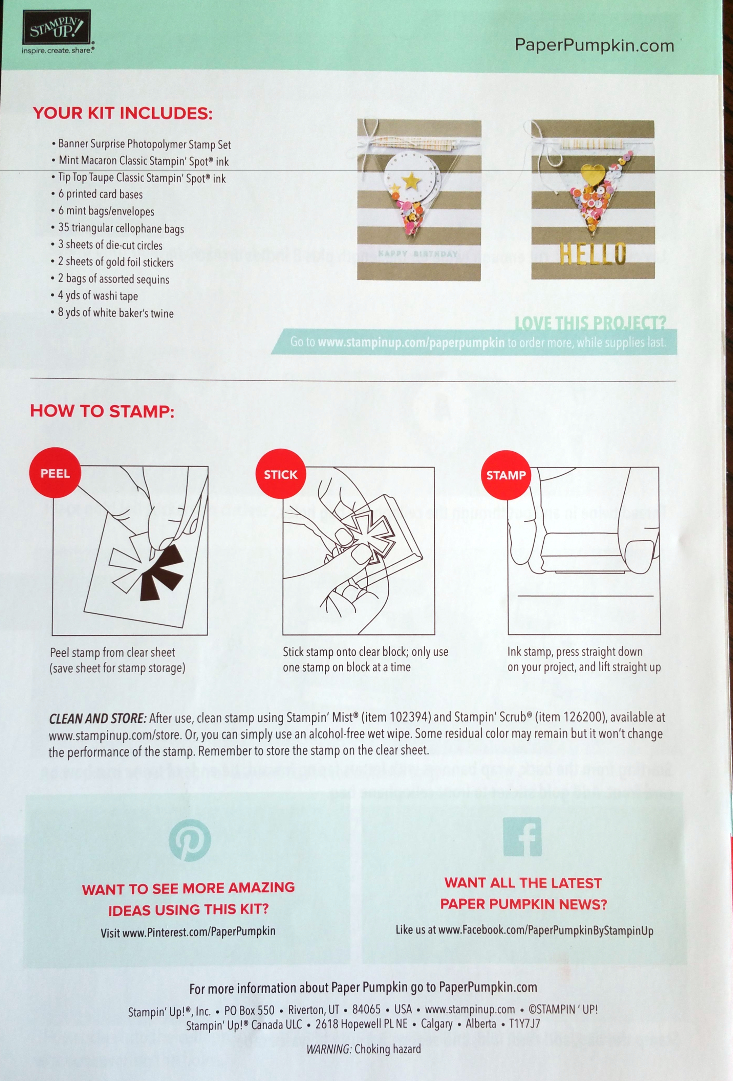
And on the back is some tips for stamping and the kit’s contents.
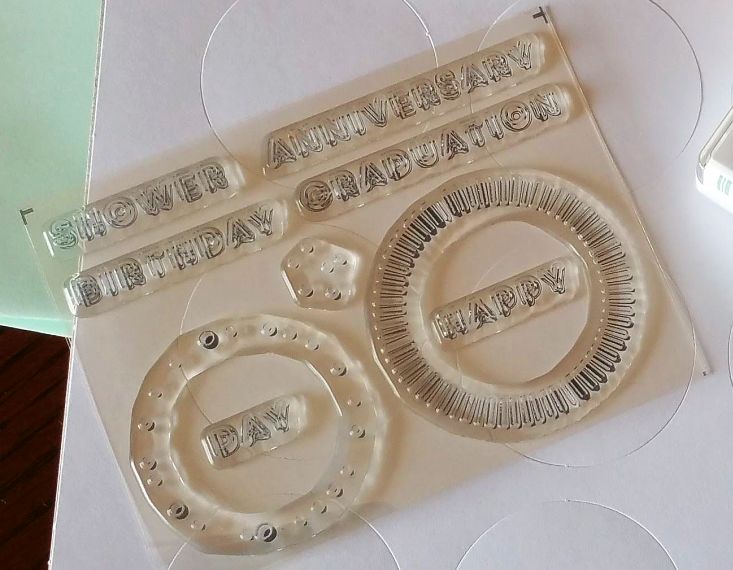
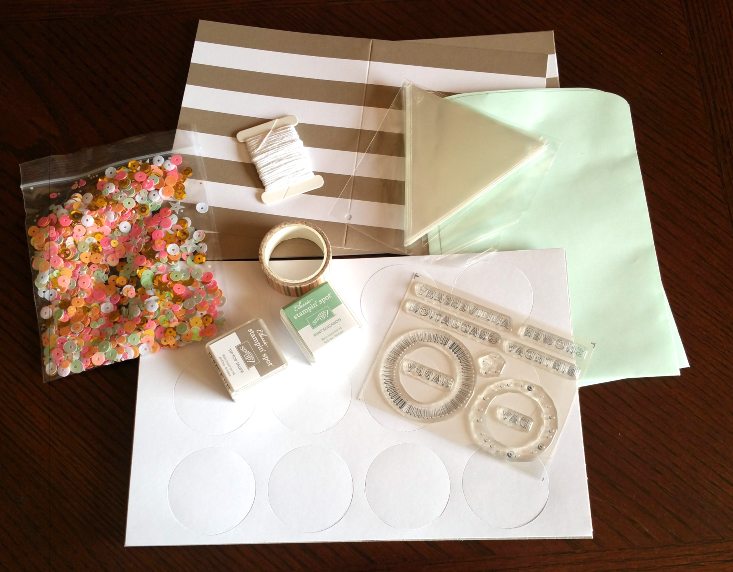
Here’s a look at the stamps they sent – I love how they do this! It really saves so much space. The rubber stamp pieces come stuck to this plastic sheet and you have an acrylic square block (which they send to you in your first Paper Pumpkin box) that you peel & stick them onto and that’s your stamp! It also lets you arrange them to easily make sentences and more complex designs, and the fact that it’s clear lets you see how your stamps are lined up while stamping! This is brilliant. I hadn’t heard of this before I first tried Paper Pumpkin a couple years ago.
This month’s stamps include the words “happy,” “day,” “graduation,” “shower,” “birthday,” and “anniversary, along with a random dots stamp, and round designs made with stripes and dots. So cute, and versatile!
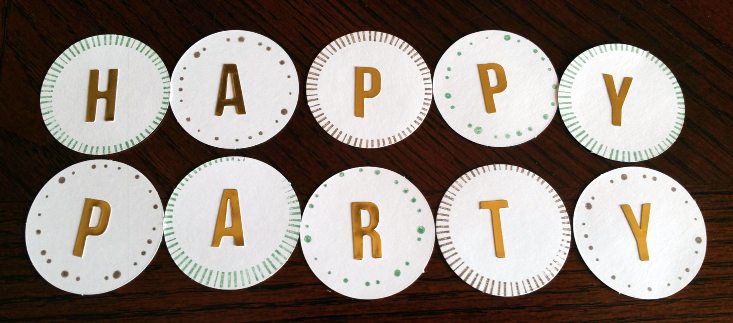
The first step was to stamp borders on some paper circles, and add golden letter stickers. I did a “happy” one, and I also thought a “party” banner would be cute.
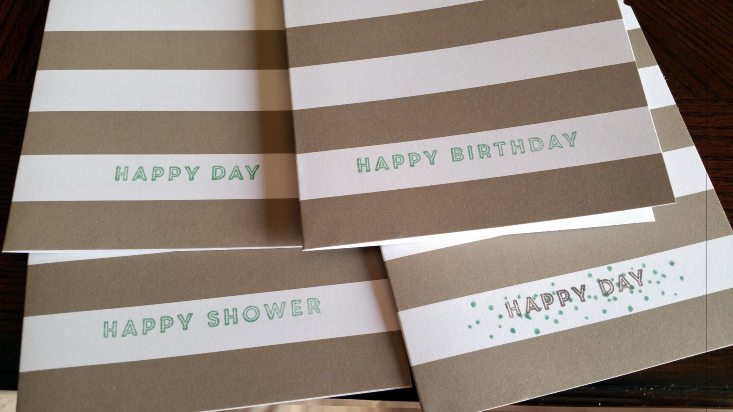
I stamped the cards, but I also think using the gold letters on these is really cute – they show that idea on the back of the info sheet. I didn’t see it when crafting, but now that I do I want to go back and make one!
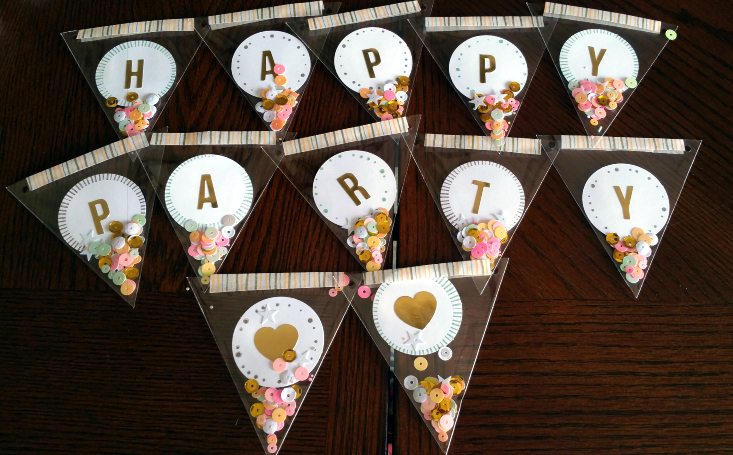
The next step is to put the circles into the clear bunting flags along with some glitter, and close them up with washi tape.
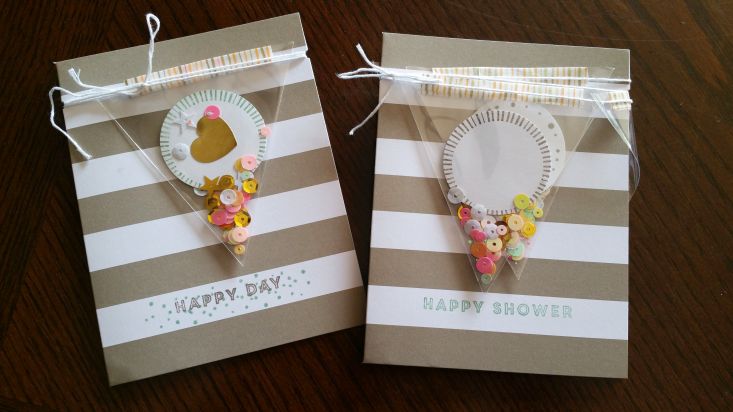
Here are a couple finished cards! The one on the left just has the bunting as a decoration on the front, but the one on the right is how they show you to make in the instructions, which is with a whole, long banner that you wrap around so that the recipient has to unwrap a fantastic banner in order to open the card! Fun.
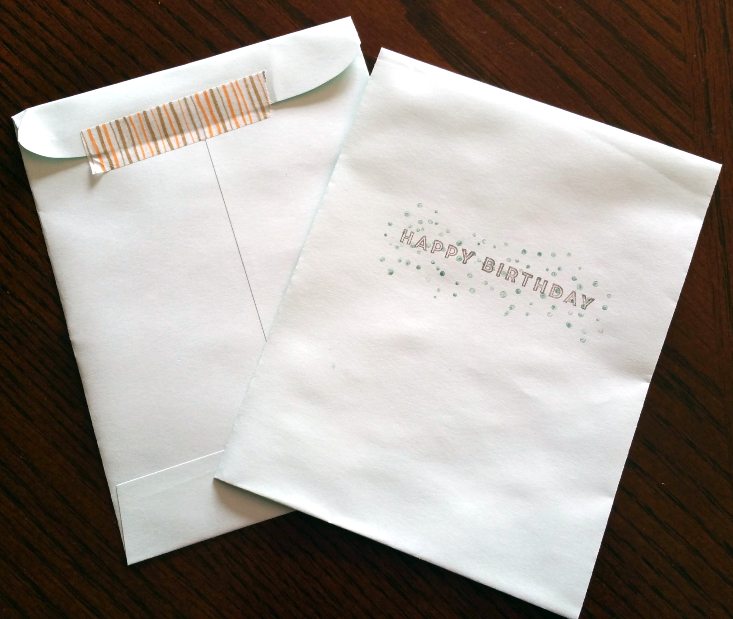
I also stamped some envelopes and closed them with some washi tape, too.
Verdict: I loved this Paper Pumpkin kit! It’s a versatile kit, too, so I can use it for lots of occasions. I used to make a lot of cards and scrapbooking projects when I was younger and it was really fun having a “crafting getaway” that let me do that again. However, even if you’ve never done anything like this before, you could definitely do this project, too. I love how pretty much everything they send that is self-adhesive that needs it (I loved not dealing with any glue) and easily mixed-and-matched. I loved that I could sit and do a little craft without any prep work or any real mess! I also think I’ll make some cool banners to just hang up in my room or something – these are too cute.
What do you think of the cards for June’s Paper Pumpkin box? Have you tried a monthly crafting box before?

Please do not enter your email address in the Name field or in the comment content. Your email address will not be published. Required fields are marked *. Remember to post with kindness and respect. Comments with offensive language, cruelness to others, etc will not be approved. See our full comment policy here.